Like other boat building projects constructing Phoenix III was accomplished step by step, guided by the accurate set of drawings and excellent manual from the designer, Ross Lillistone. Each new step was an interesting little puzzle and once accomplished, was very satisfying. That was a good thing because there were a lot of steps. Don’t ask how many hours went into the project. I didn’t keep track. It did stretch over two years but with Covid there were many days in which my attention was elsewhere.
Note that this construction is called glued lapstrake unlike most of my previous boats that are stitch-and-glue.
Clicking on any photo should enlarge it.
Here’s an abbreviated travelogue to the building of my Phoenix III:
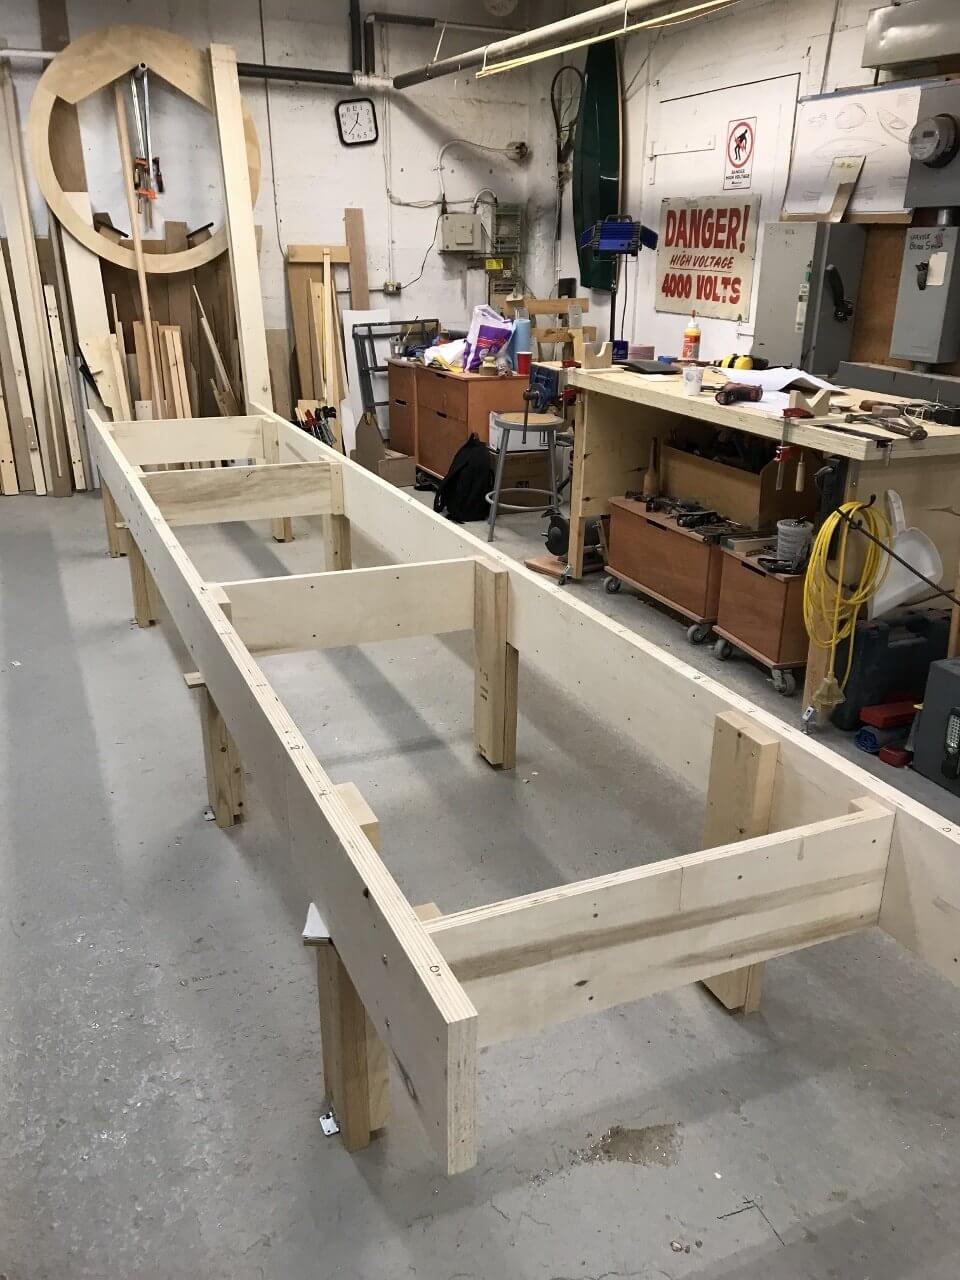
Phoenix III is built in a method called glued lapstrake. It depends on an accurately constructed mold. The mold requires a solid, level base called a strongback.
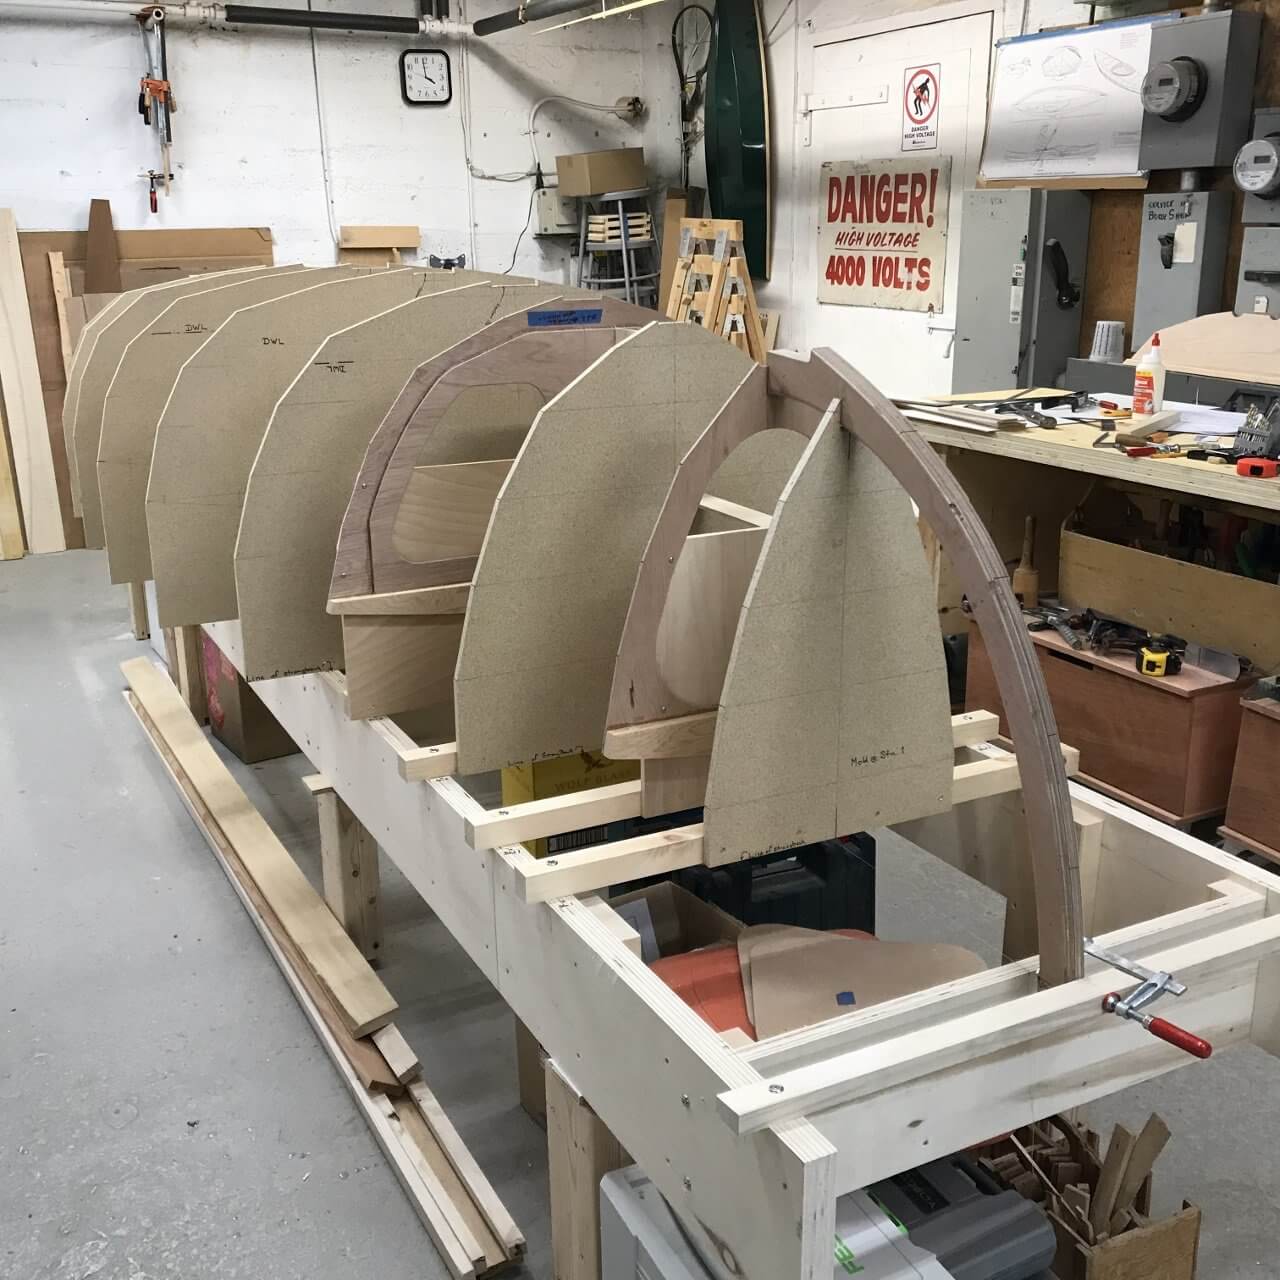
The mold is made of cross sections of the boat at regular intervals from front to back set up on the strongback. Here you can see some are made of plywood and will remain as part of the boat. Others (beige in colour) are just temporary to give the boat form during construction but will be removed.

The curved inner stem was in place in the previous shot but it still needed to be beveled so it would match the angle of the future planking.
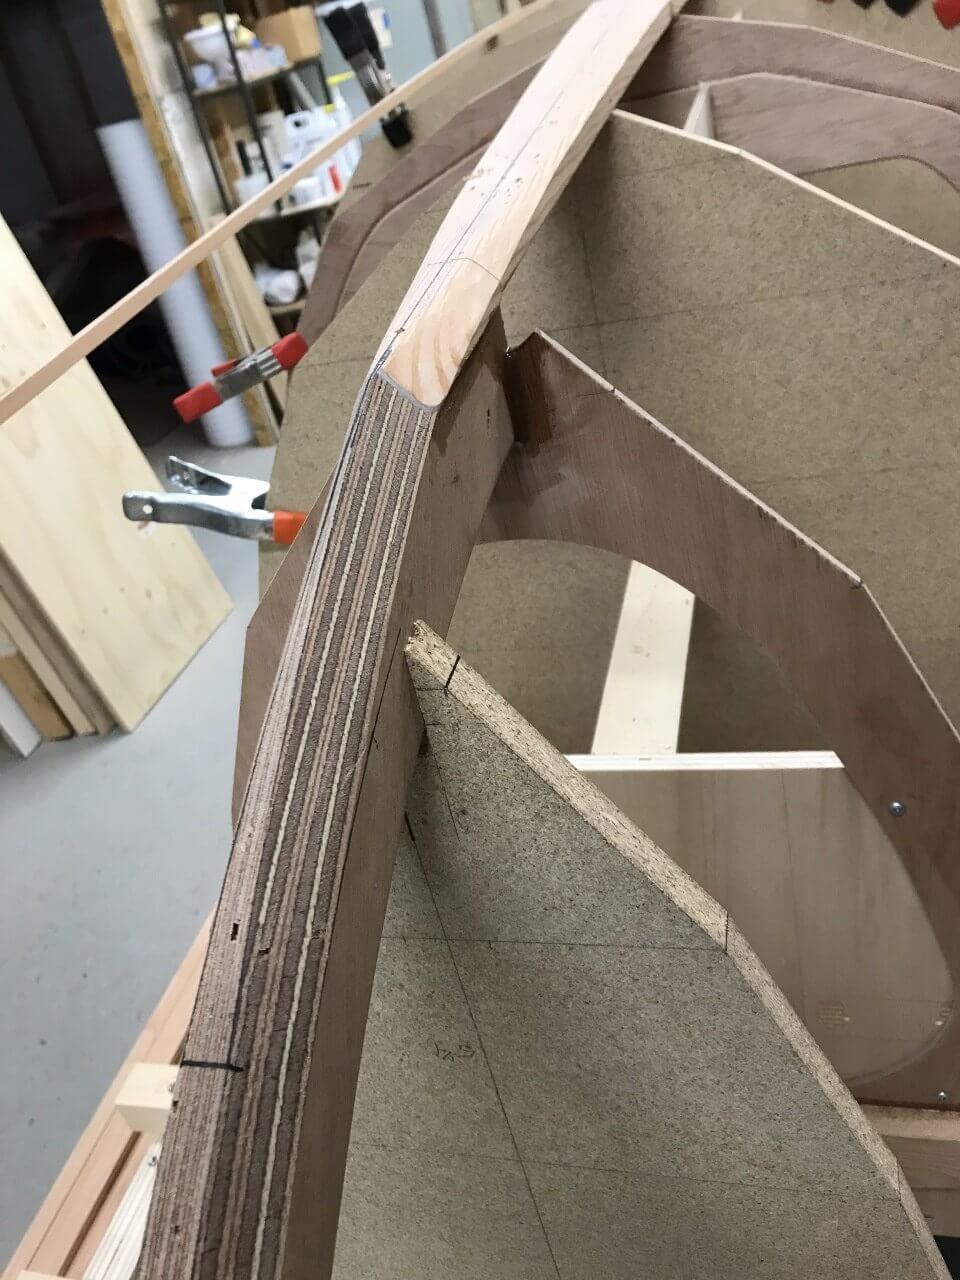
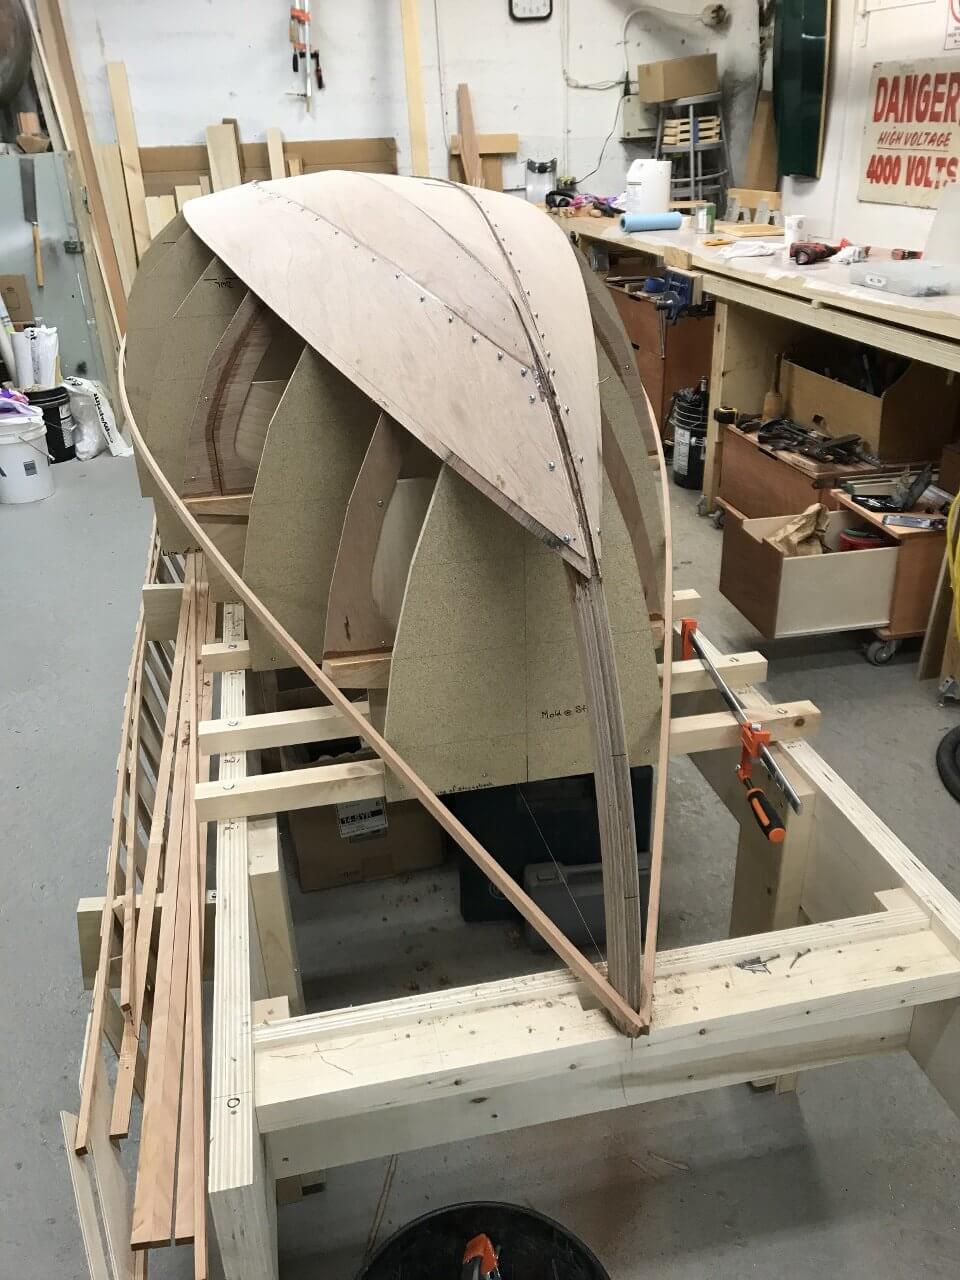
Here the inner stem is back in place on the mold. The inner keel is also in place at the top of the photo and the two have been shaped and are ready to receive the first planks (for insiders the first set are called the garboards)
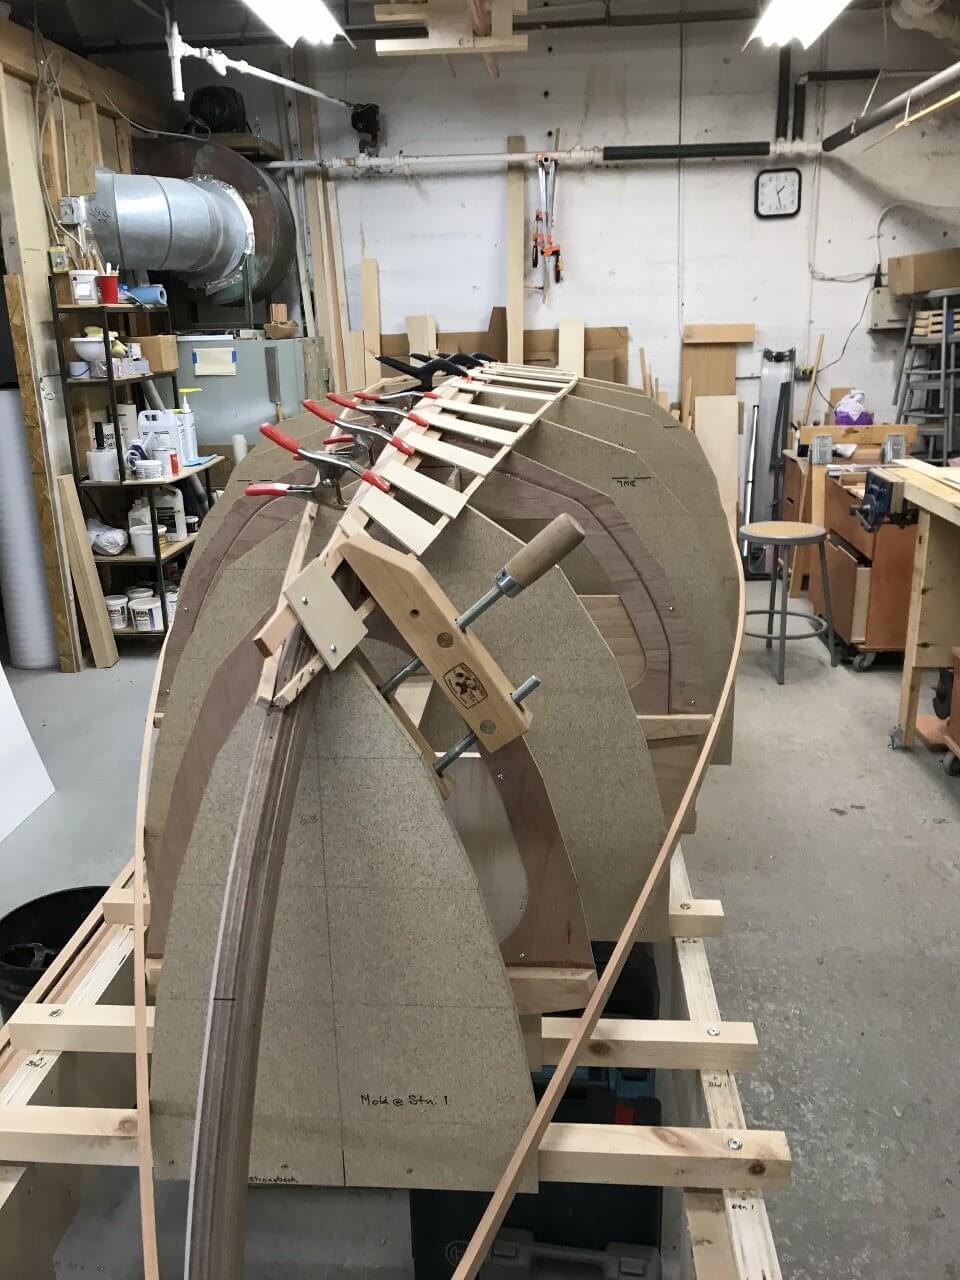
Up until this point almost every detail came directly from the plans. The shape of the planks did not, however and had to be worked out in place. Long thin battens were clamped to the mold at the edges of the future plank. Many little cross braces were glued to the battens to “freeze” their relative positions.
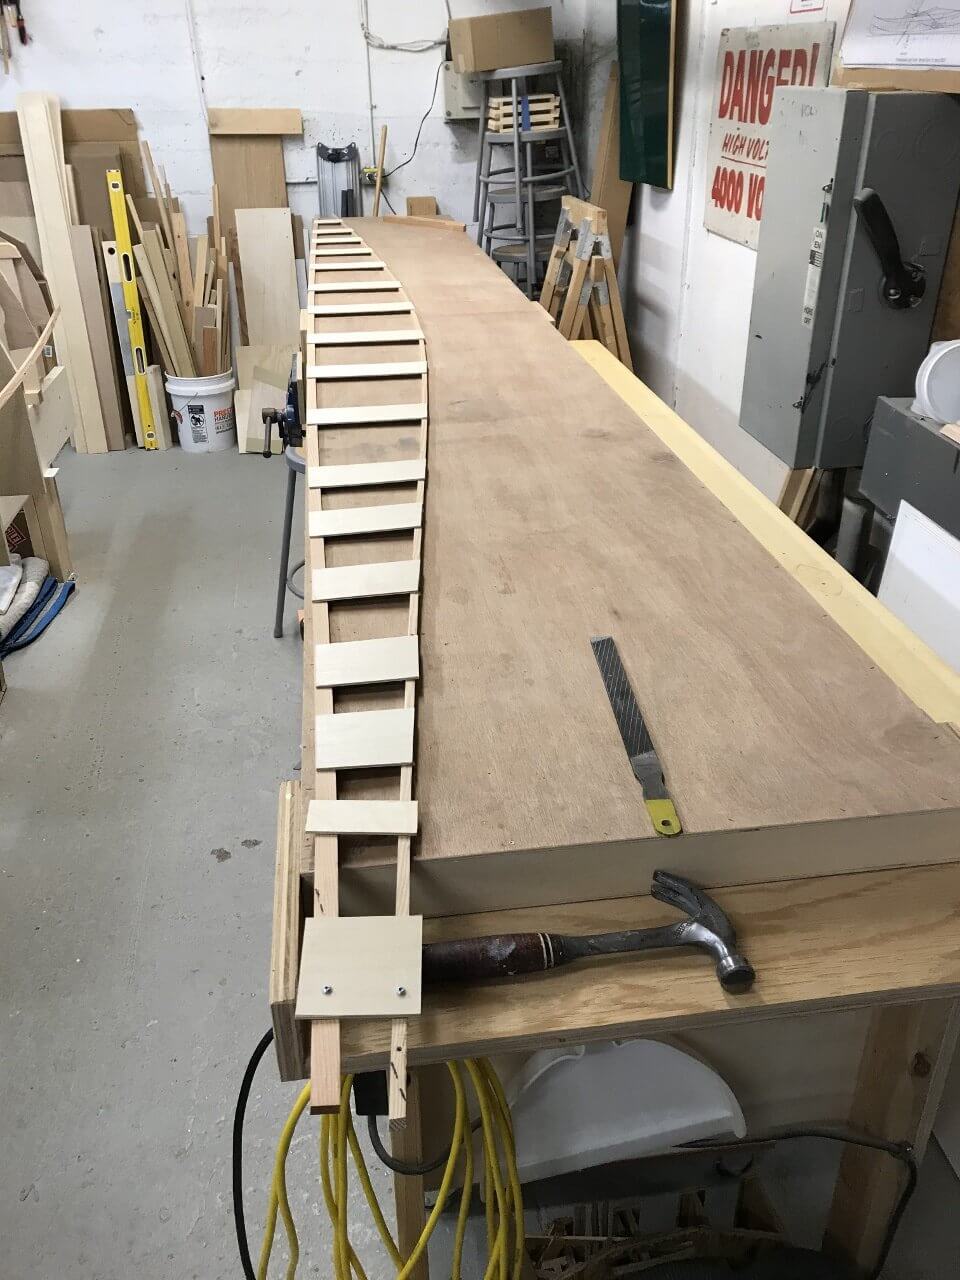
The assembled template is removed from the mold and flattened on top of the planking stock (6mm marine plywood joined into 16′ long strips). The shape is traced and cut out.
Here the first set of planks has been glued to the stem, inner keel and the other permanent parts of the boat. As I planned to paint the hull I could use screws to clamp the parts until the epoxy glue cured. The holes they left would all be filled later.
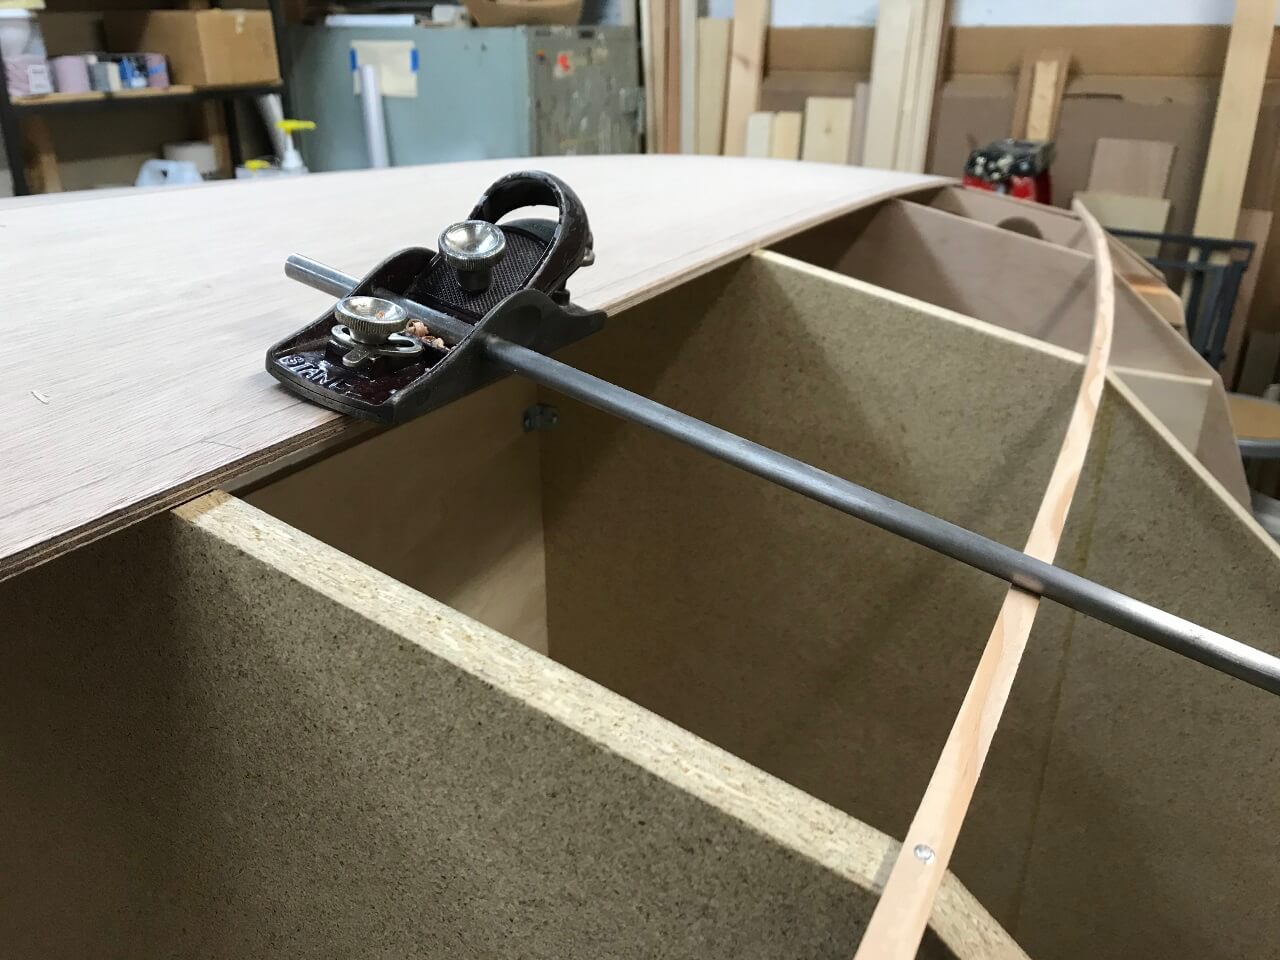
Each set of planks overlaps the previous set and the two sets must be glued solidly. The overlapping area needs to be beveled to varying angles as the shape of the hull changes. This specially modified block plane helped to determine the shape of that rolling bevel.
Here the second set of planks has gone into place. You may be able to make out the “gain” at the bow end of the plank. It’s a rabbet cut to allow the overlaps to become smooth at the bow.
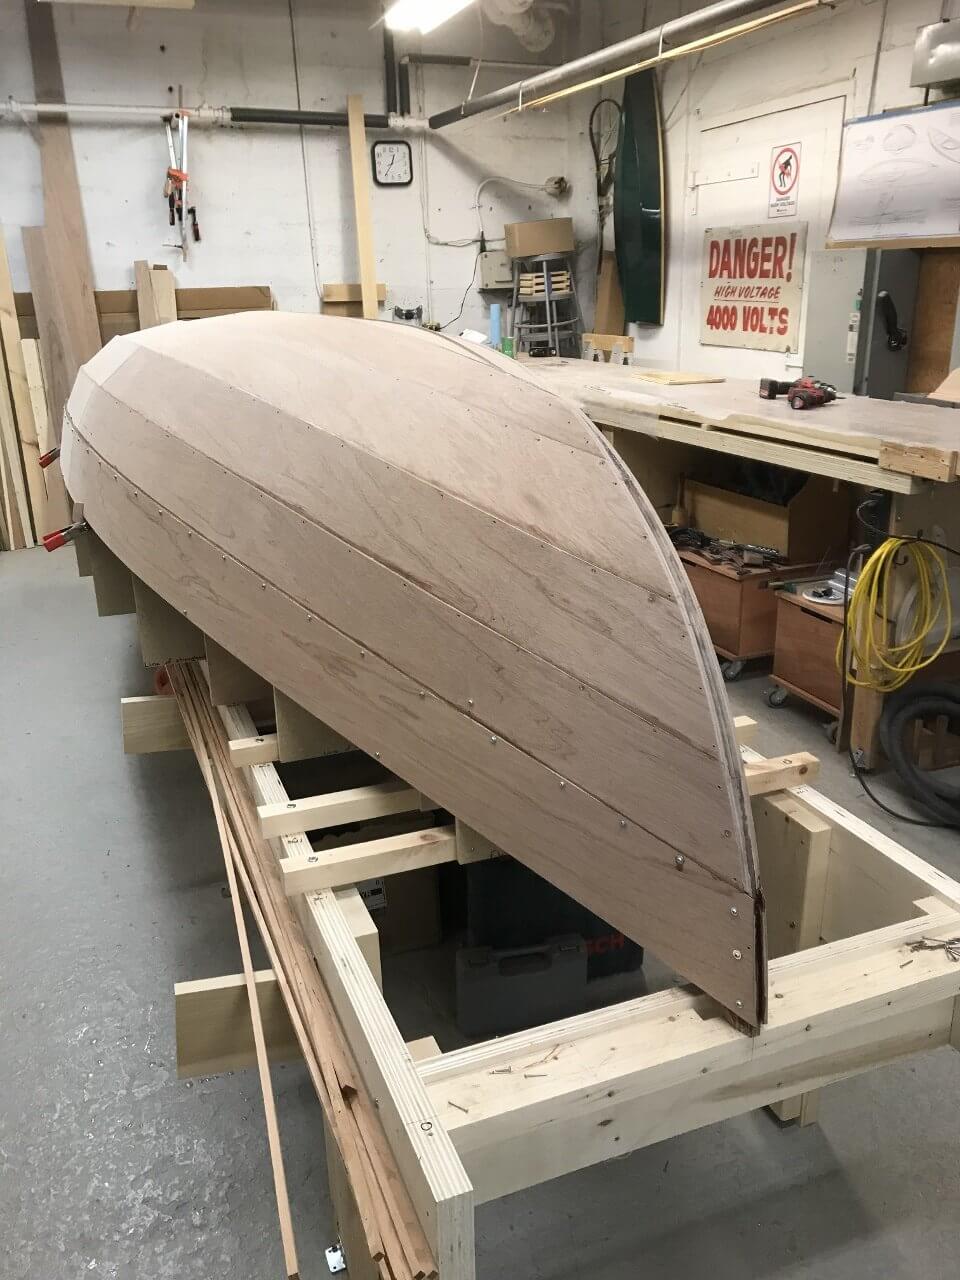
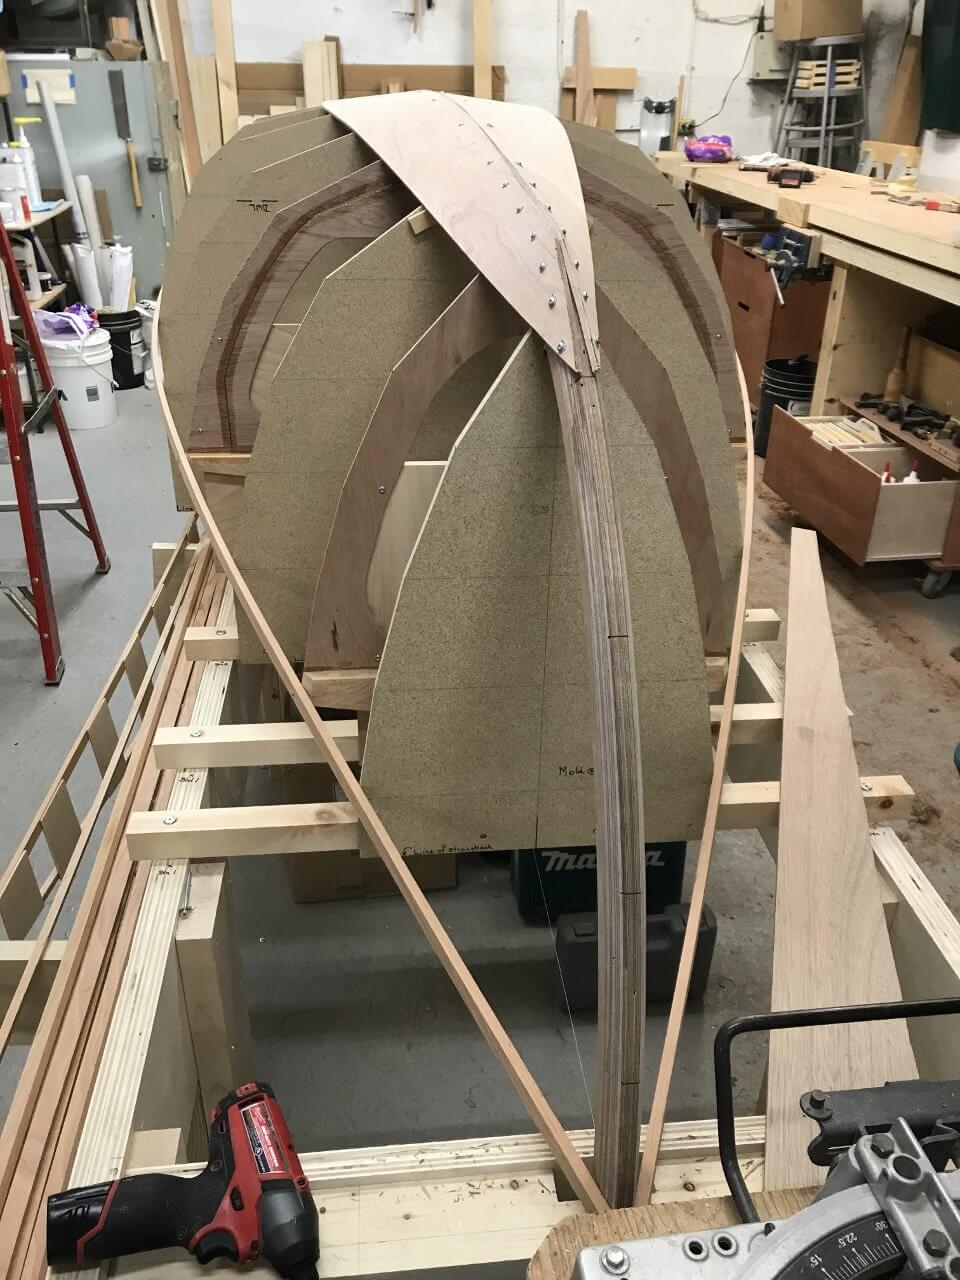
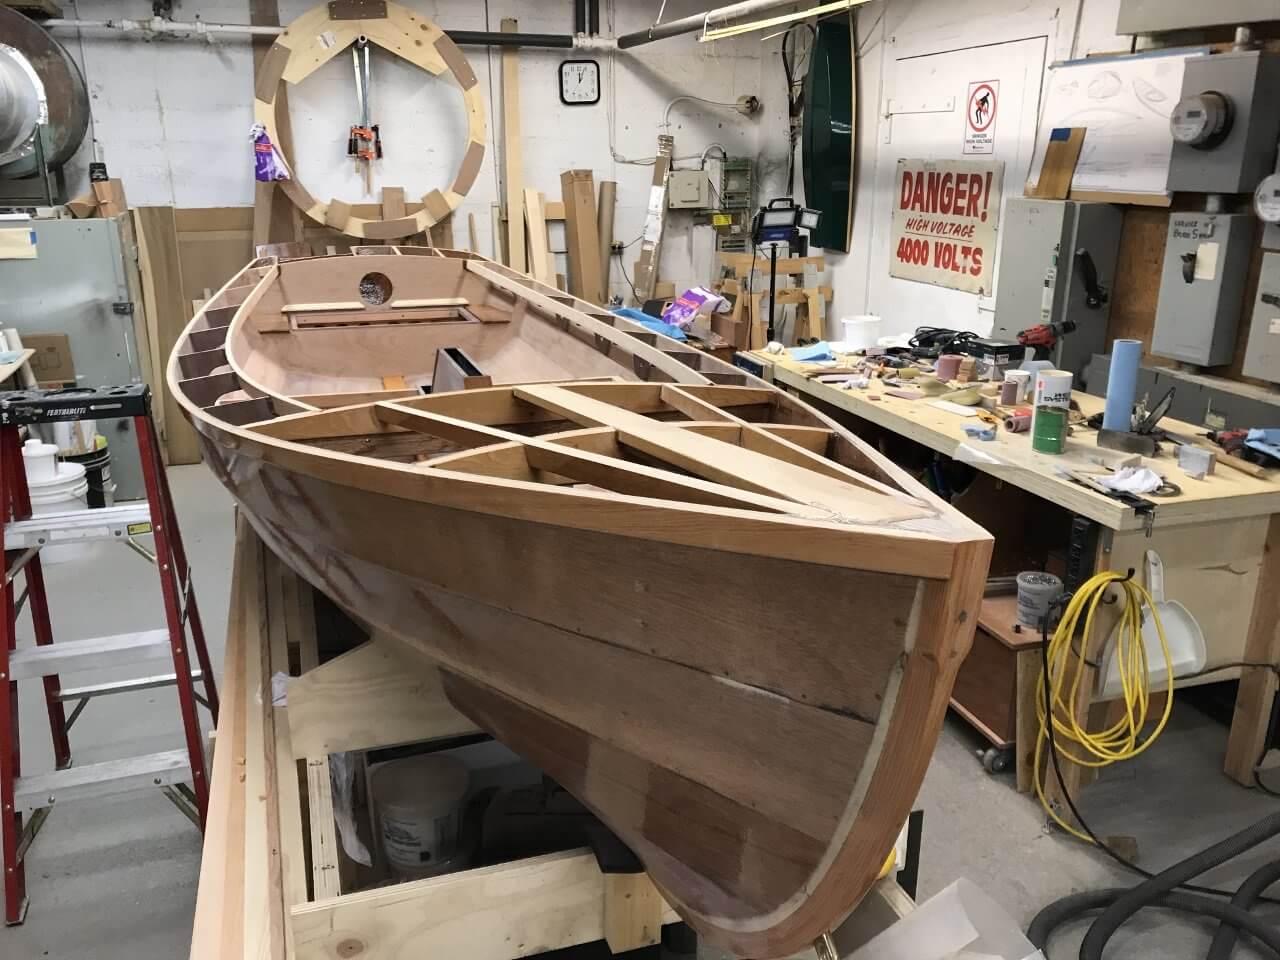
At last all the planking complete

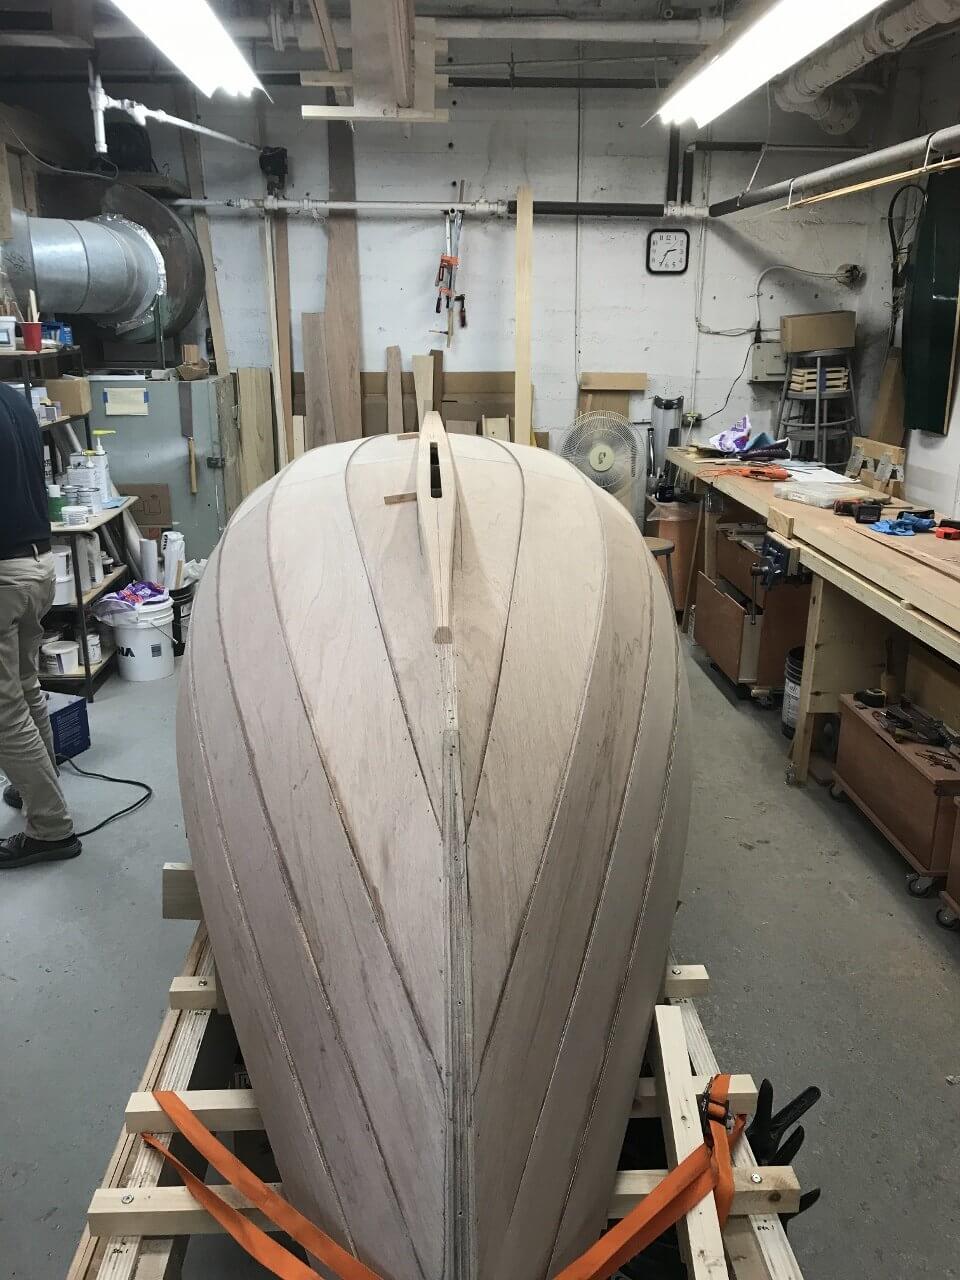
The outer stem was laminated of thin strips and formed on the boat itself.
The outer keel shaped and almost ready to be glued in place.
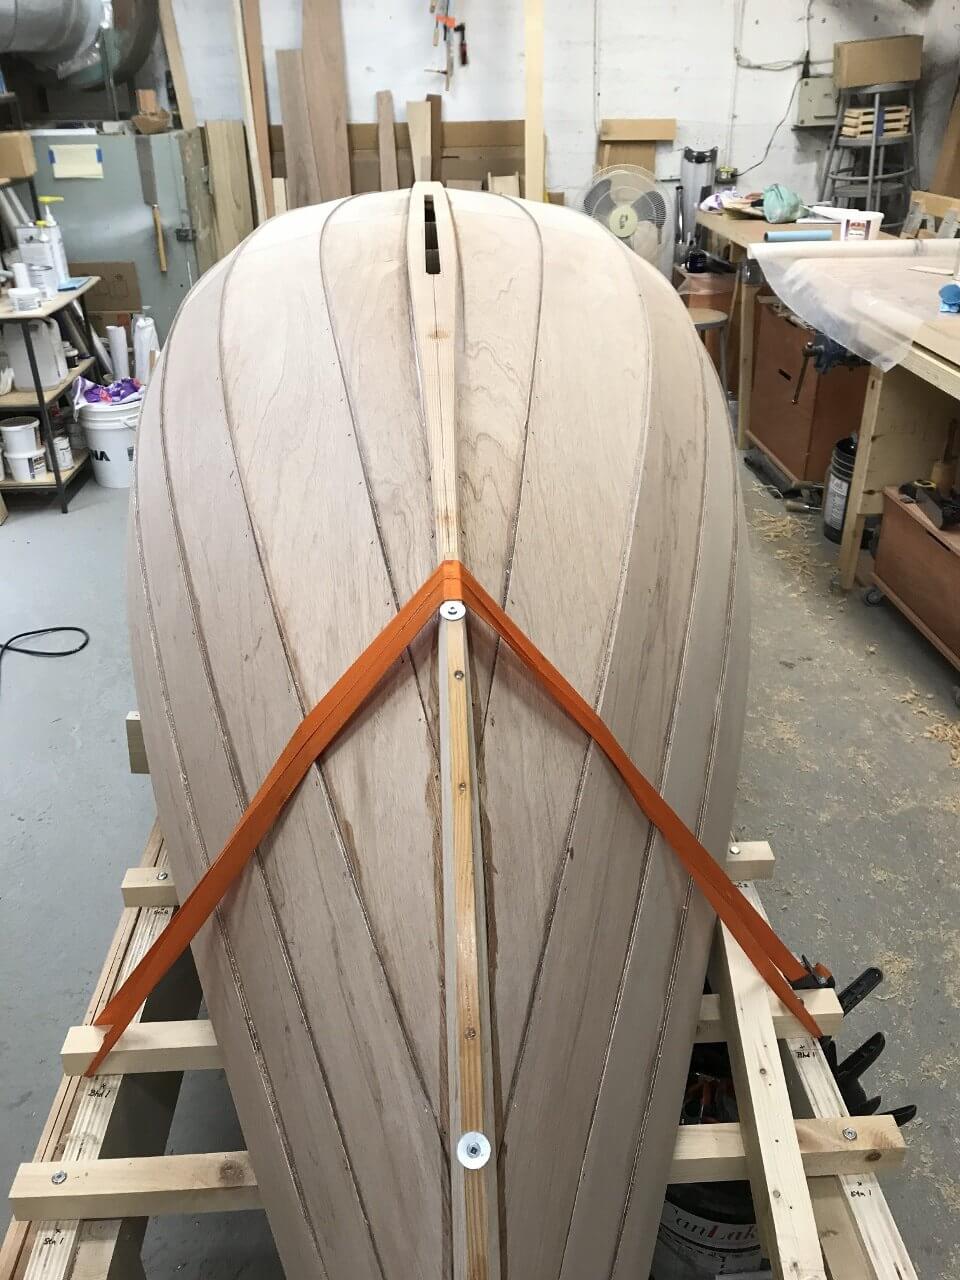
The outer stem being attached after shaping.

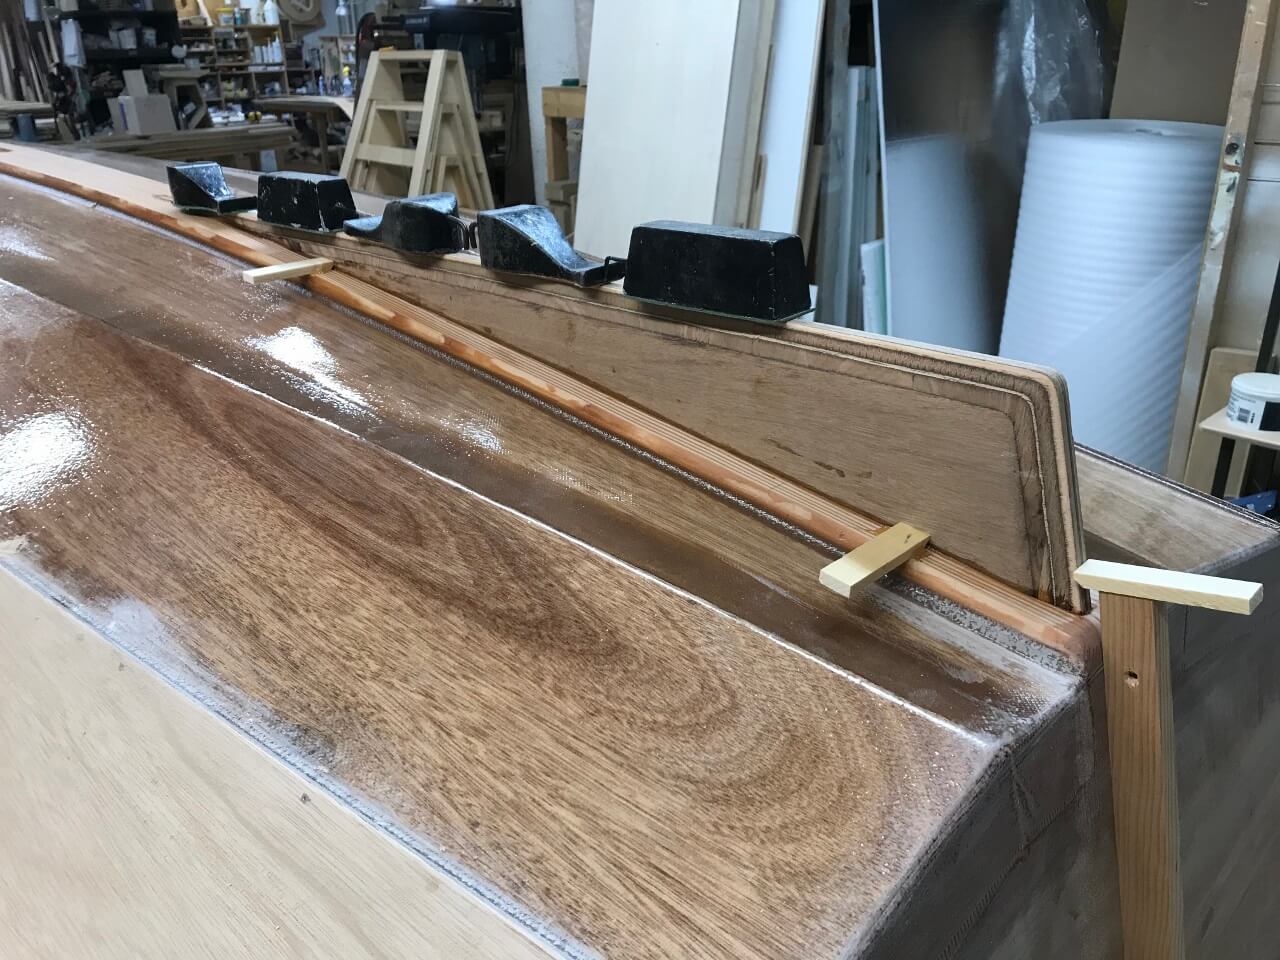
The gunnels being fitted
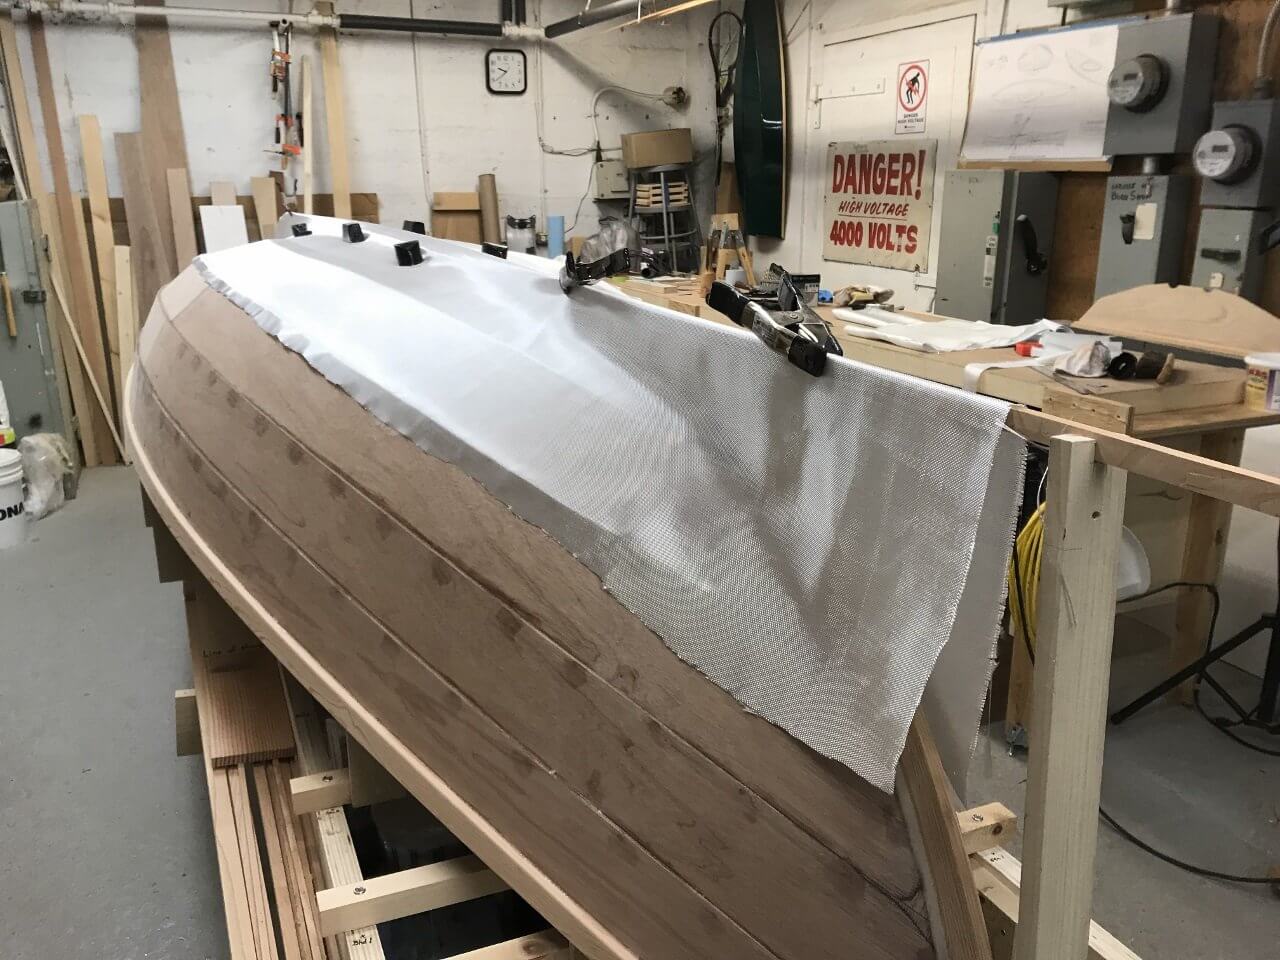
To toughen the bottom of the hull I added 6 oz fibreglass cloth to the 1st and 2nd planks. This “tented” set up for the cloth kept it as distortion-free as possible and helped simplify the application.

Once fibreglass cloth is saturated with epoxy it becomes almost invisible.
The skeg at the aft end of the keel going into place. The small temporary blocks are hot glued in place to locate the skeg.
The inside corners of many joints have cove shaped fillets added for strength. These fillets are made of an epoxy putty and carefully shaped and smoothed.
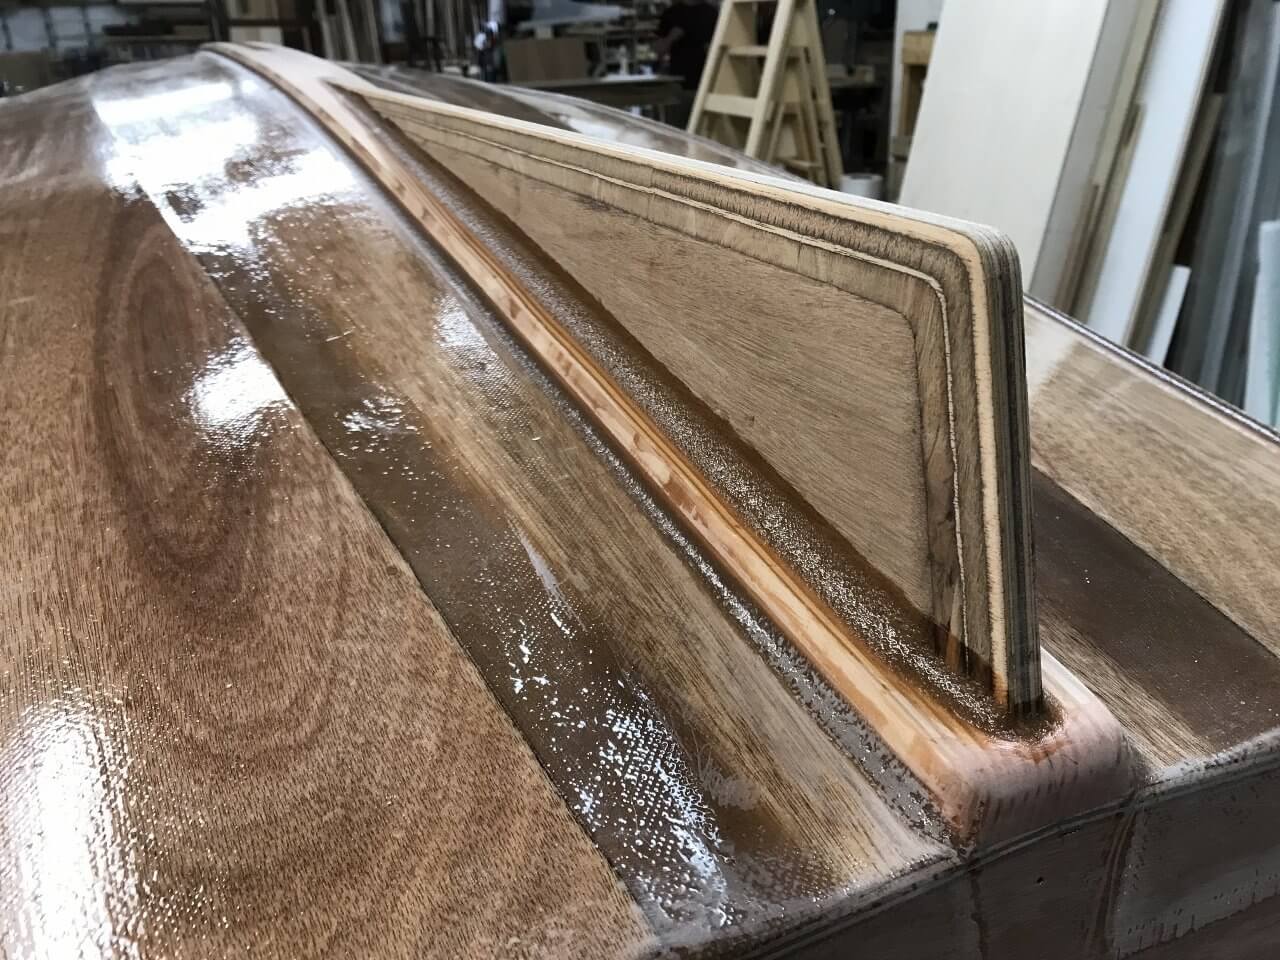
The outside of the hull is nearing completion and has had several coats of marine epoxy- the wonder material that hardens the wood and makes it virtually waterproof.
With a little help from my friends the boat has been flipped and is ready for the completion of the interior.
The centerboard case going into place.

The centerboard itself in progress. It is shaped into a streamlined “foil” shape and a heavy block of lead is added (under the rectangular patch) to weight it. Later it will be fibreglassed and epoxy coated.

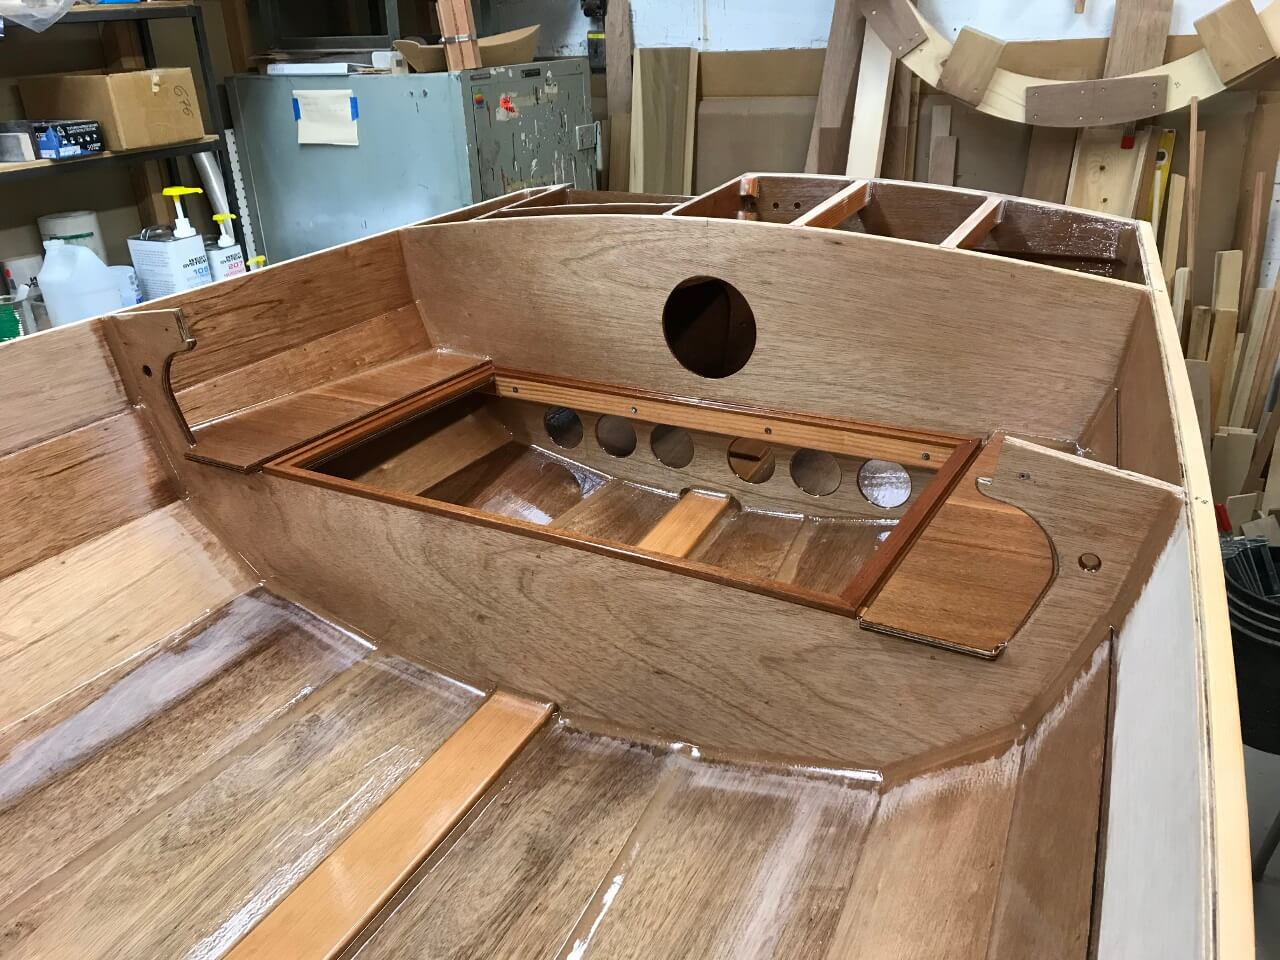
The mast step (below) and mast partner (glued to the bulkhead) are in place and framing for the bow deck has been added.
Two little semi-bulkheads that were not part of the mold have been added and the center thwart is being fitted.
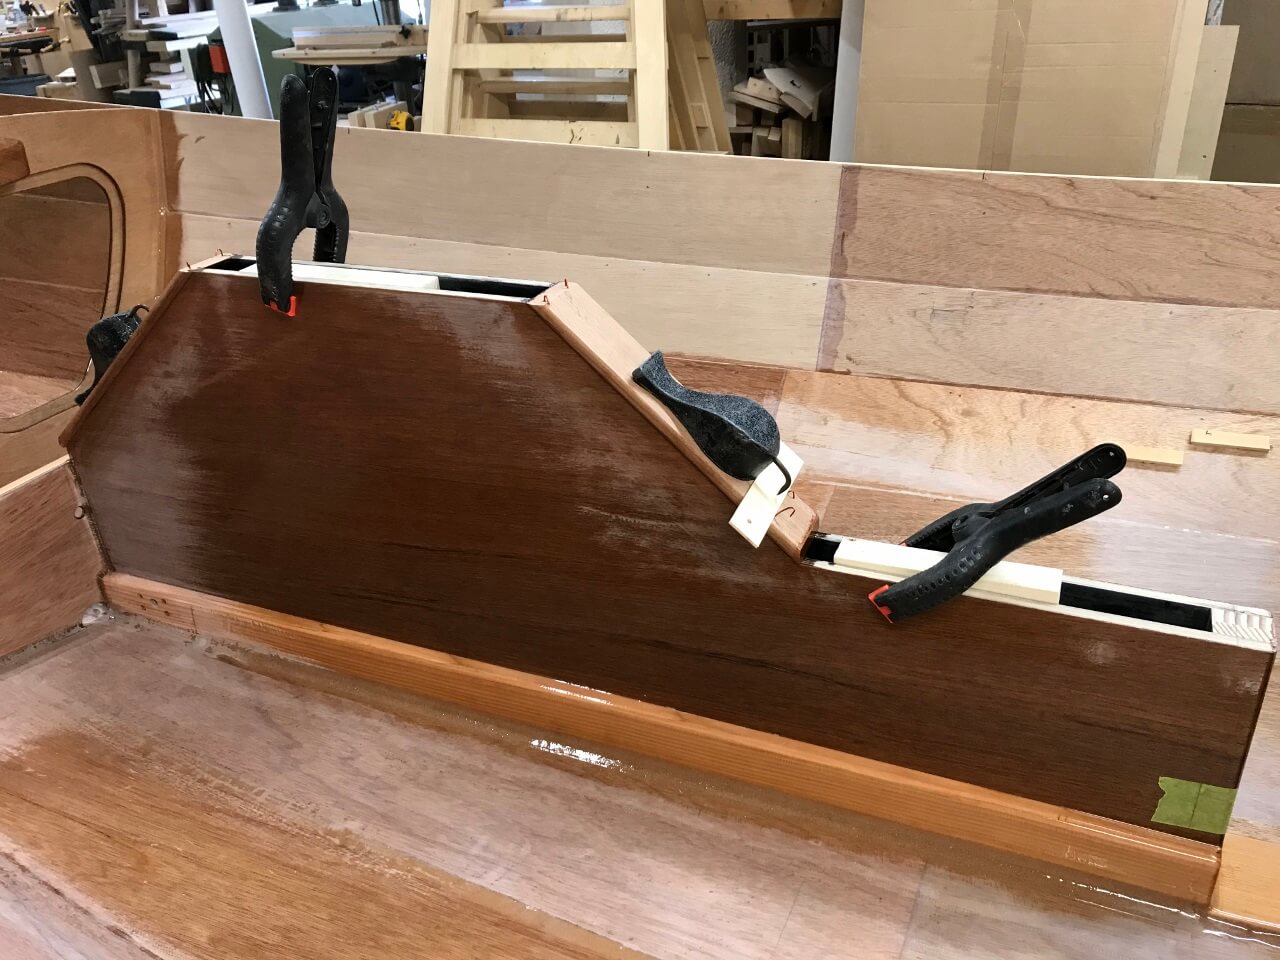
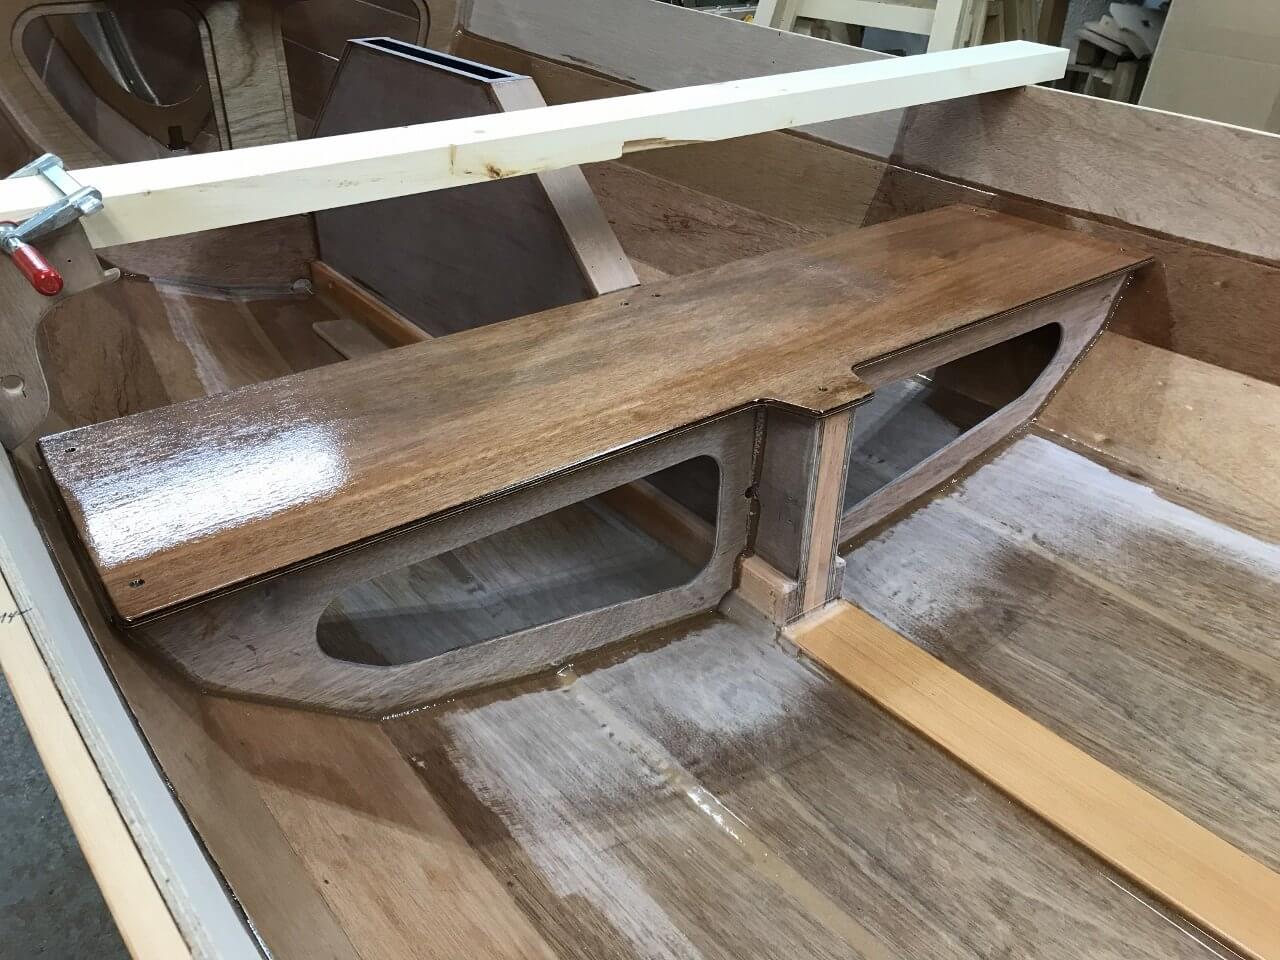
Towards the stern the rear seat with an integral hatch and framing for the rear deck and motor well are in place
Framing for the side decks has been added.
Finally, a little colour! Before the paint the inside of the 3 first planks was fibreglassed and, of course, all surfaces were epoxied.
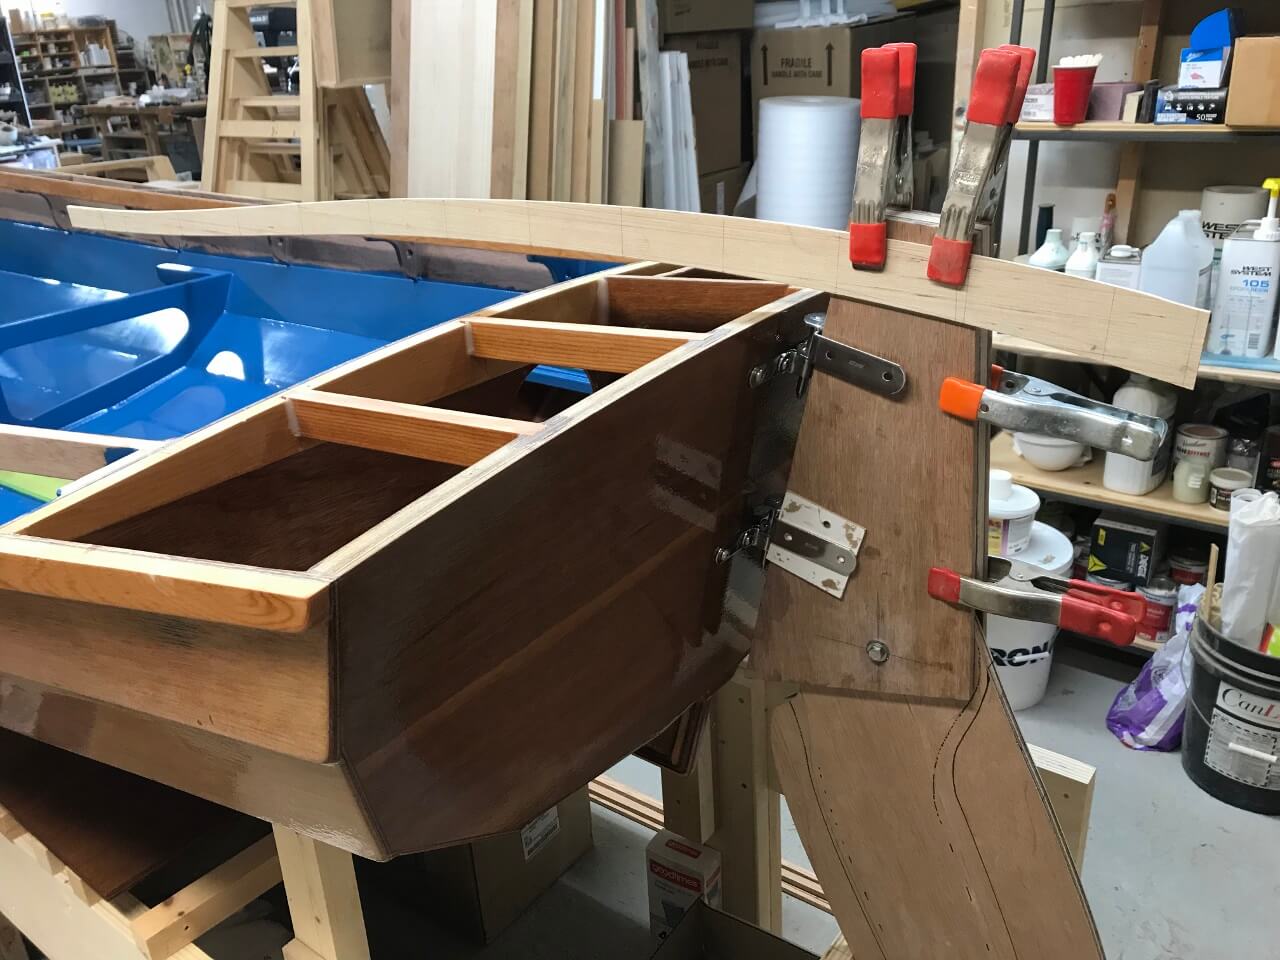
The flip-up rudder and the tiller with integral control lines for the rudder might be the most complicated assembly in the boat.
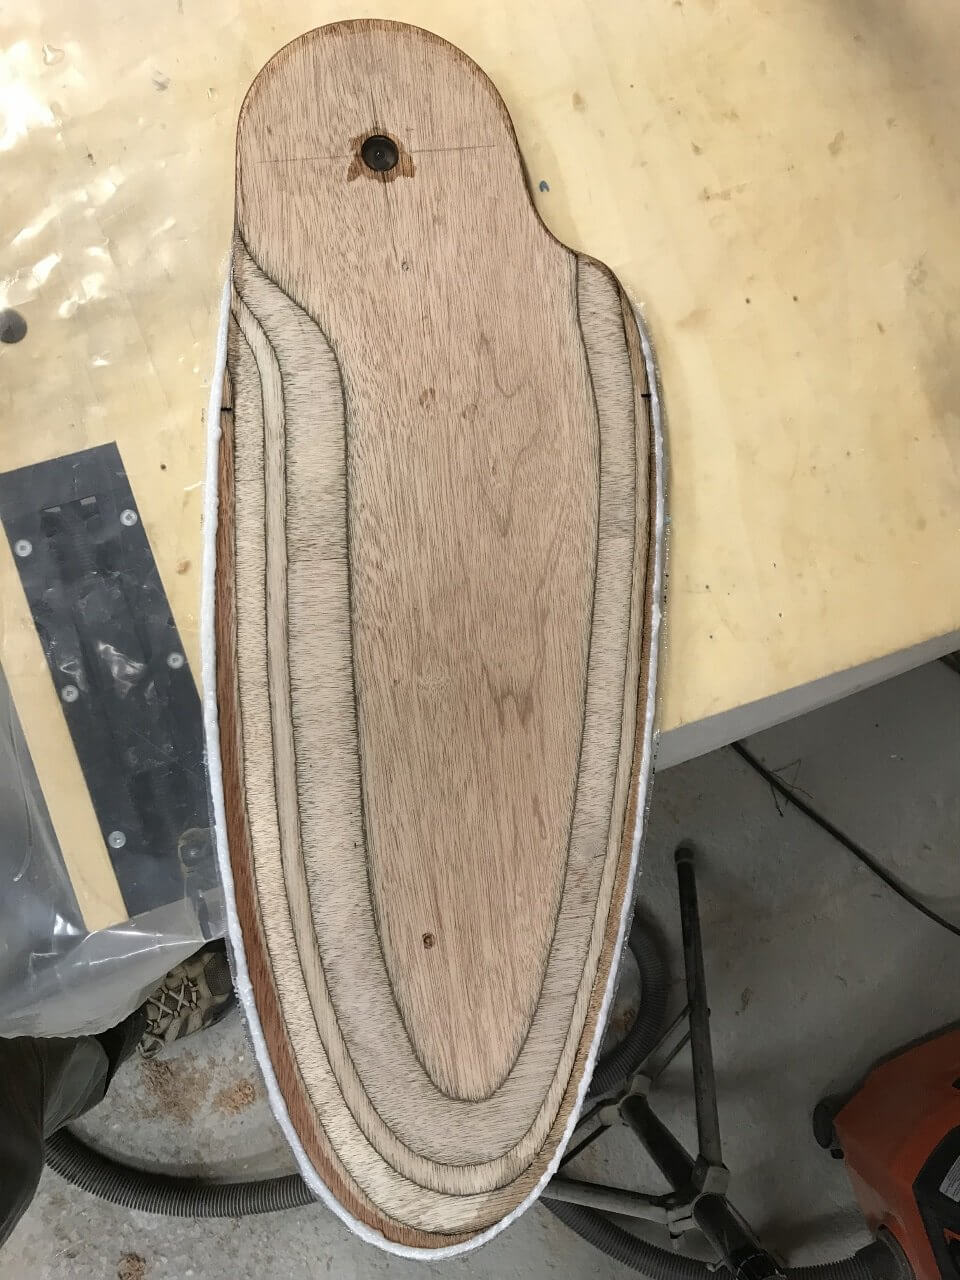
Here’s the rudder before it’s armor of fibreglass and epoxy. It’s foil-shaped like the centerboard and has a hardened edge of epoxy as well (the white rim in the photo).
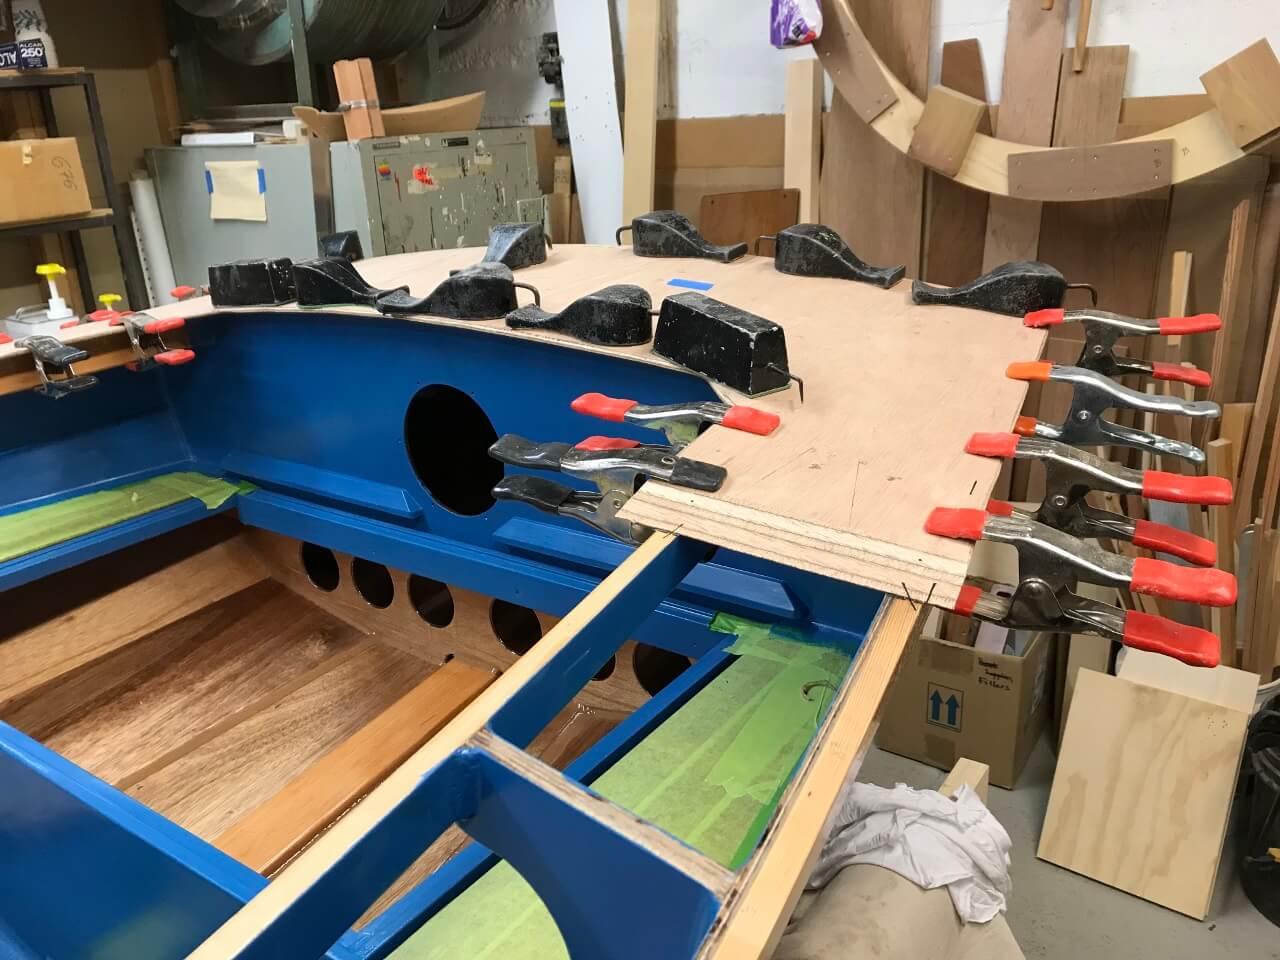
The deck went in as 4 sections. You can see the scarph joint at the front of this stern section ready to be joined to the side deck.
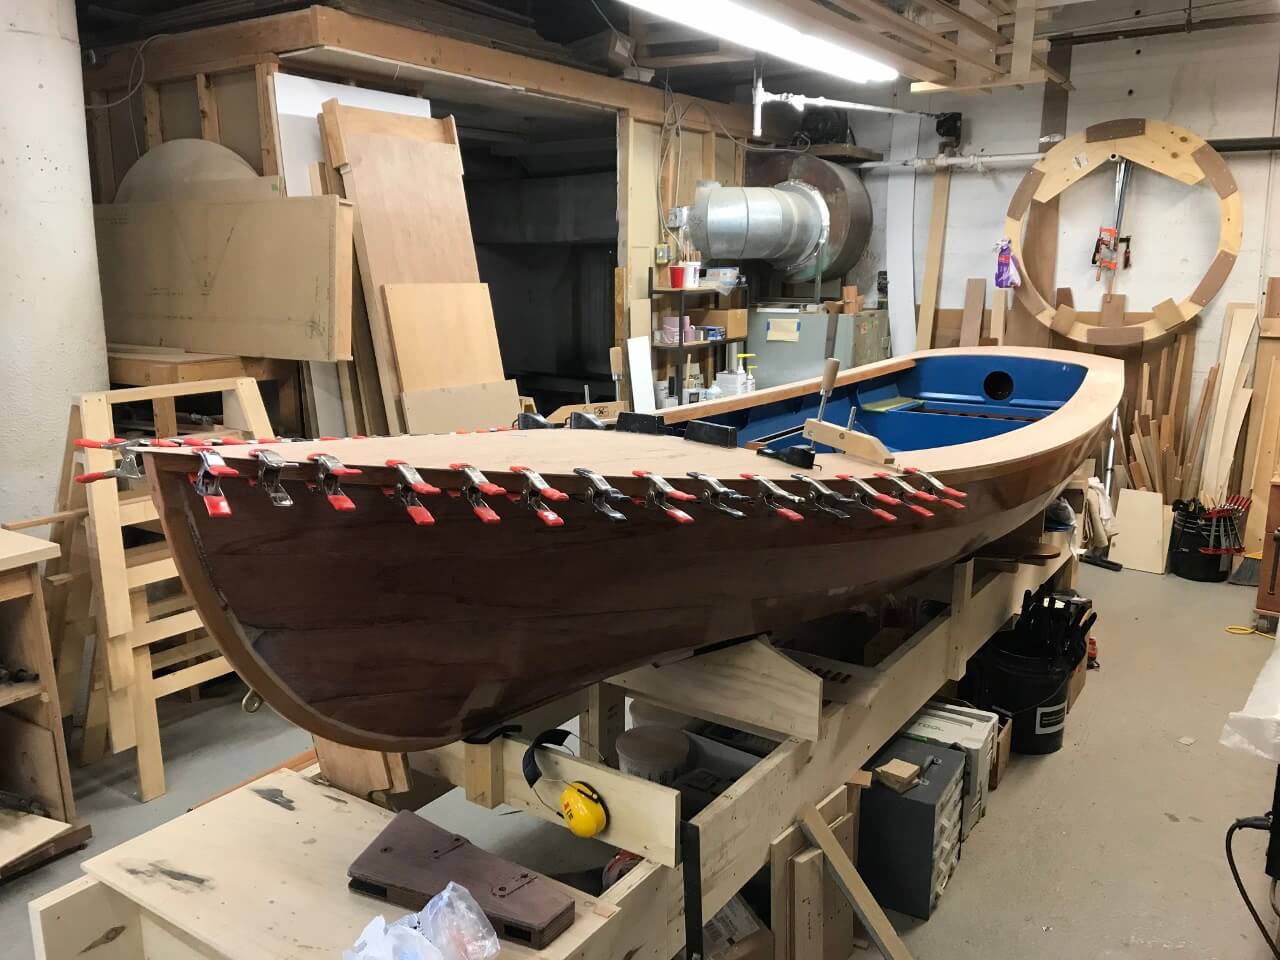
The last section of the deck. And, yes, I might have used more clamps!
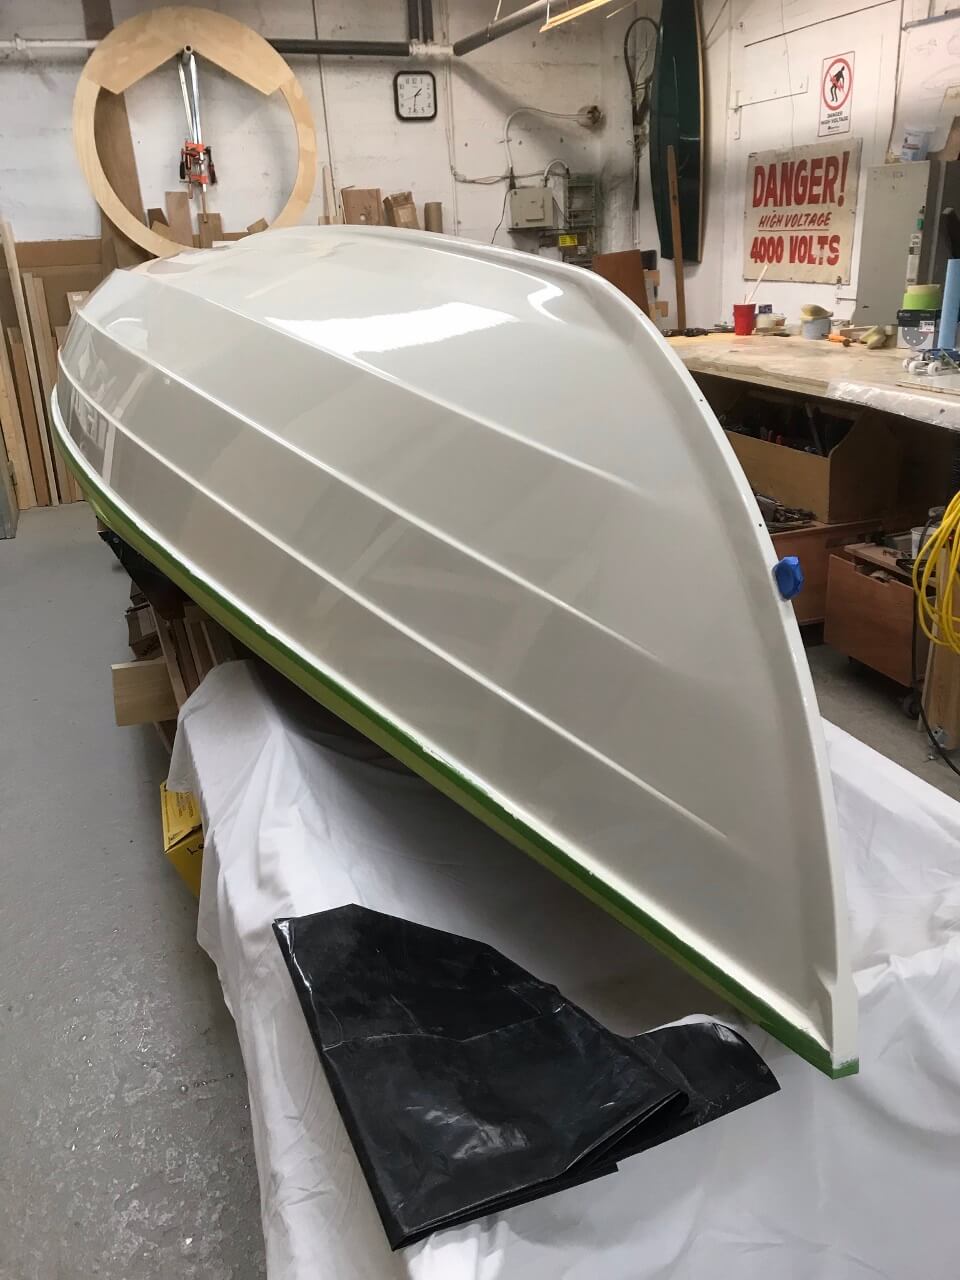
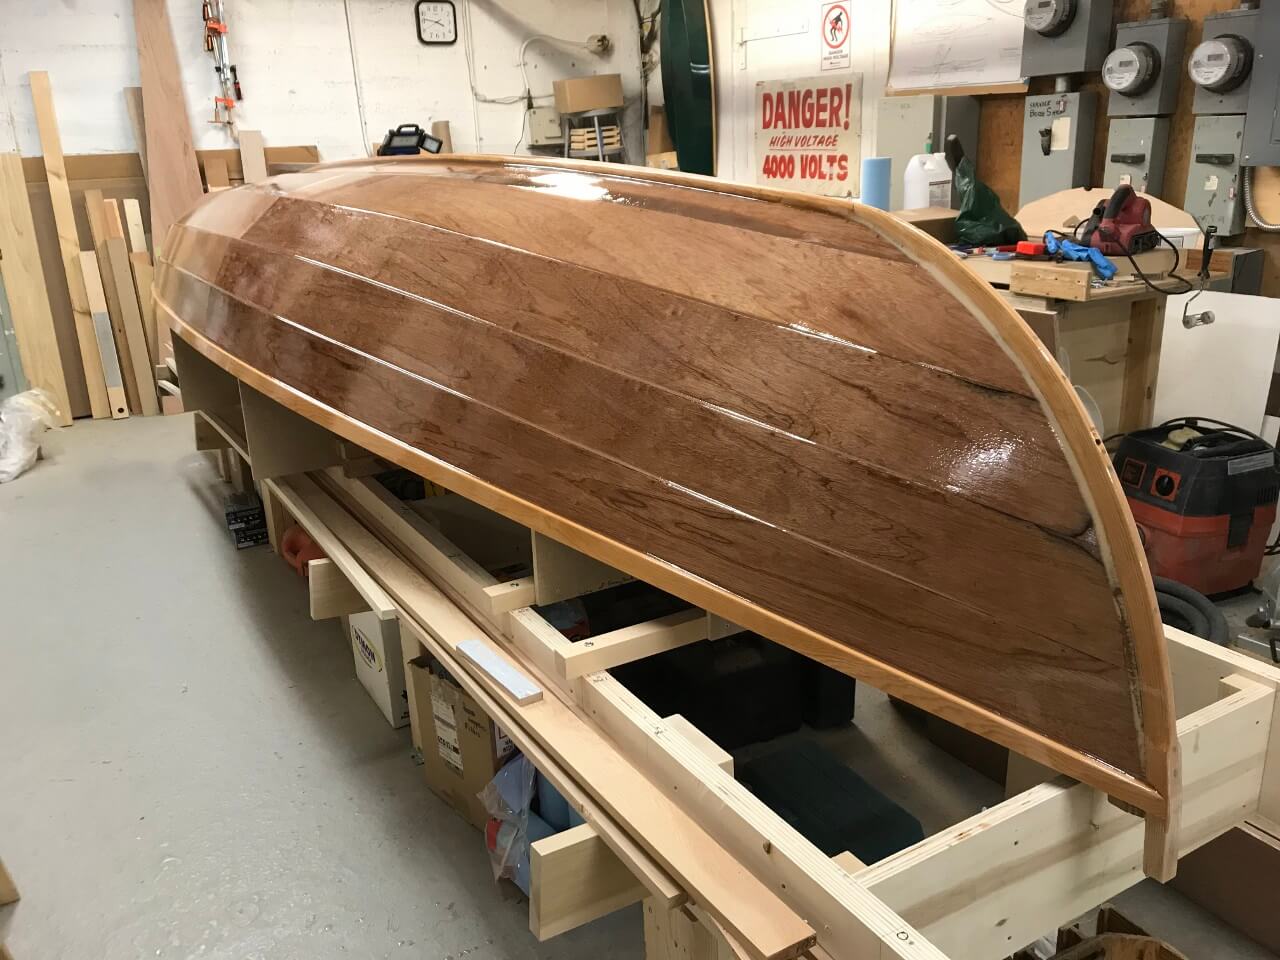
The outside of the hull got 2 coats of primer and 3 coats of marine topcoat on top of the origional epoxy coating. It should be durable.
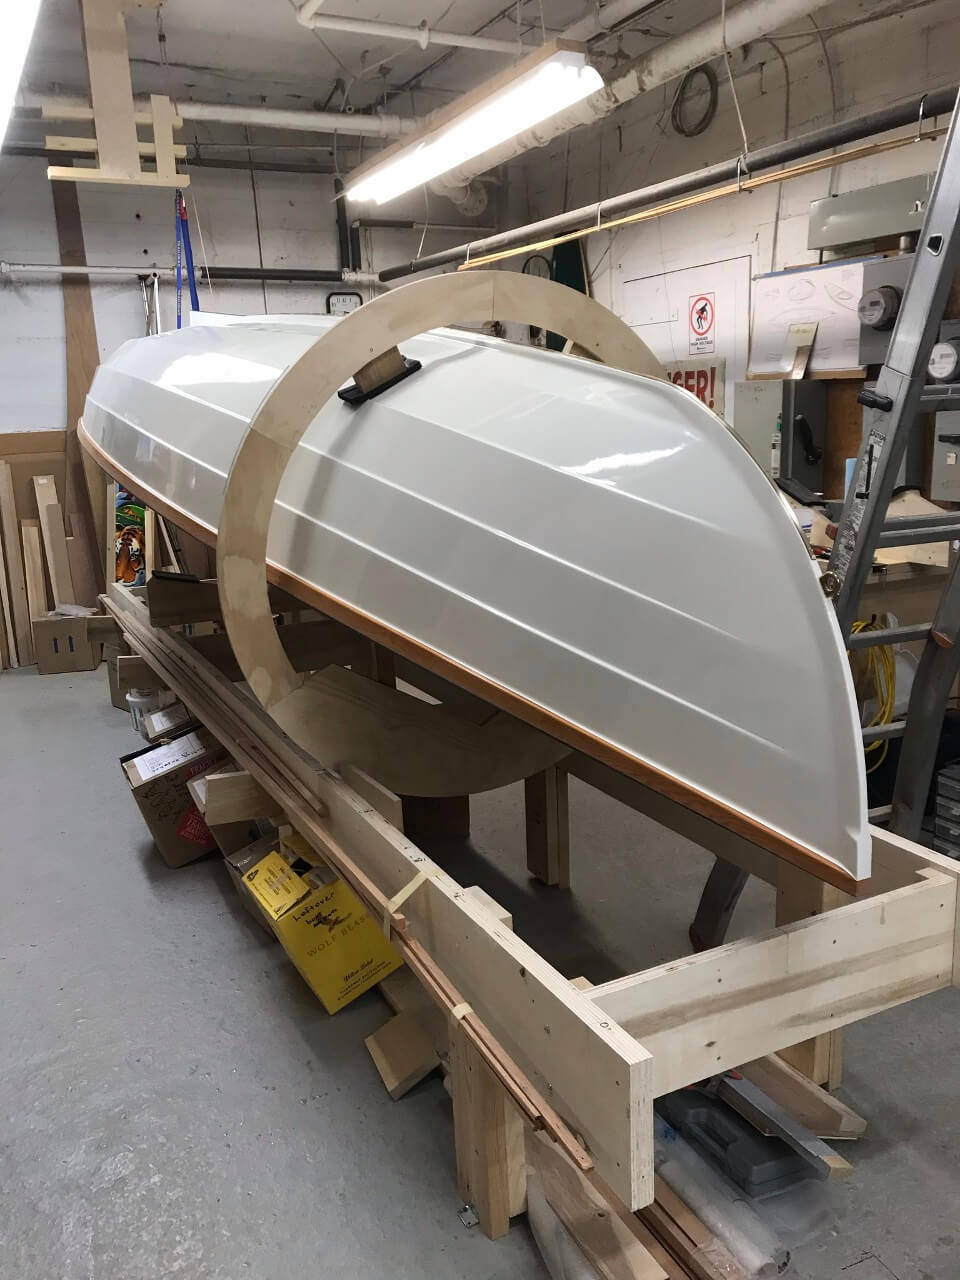
The boat had become too heavy for two people to flip and yet there wasn’t the room for extra help. This rolling wheel contraption, clamped to a bulkhead, along with a cable from the ceiling looped around the stern allowed me to flip the boat alone. It was a little hair raising but it worked.
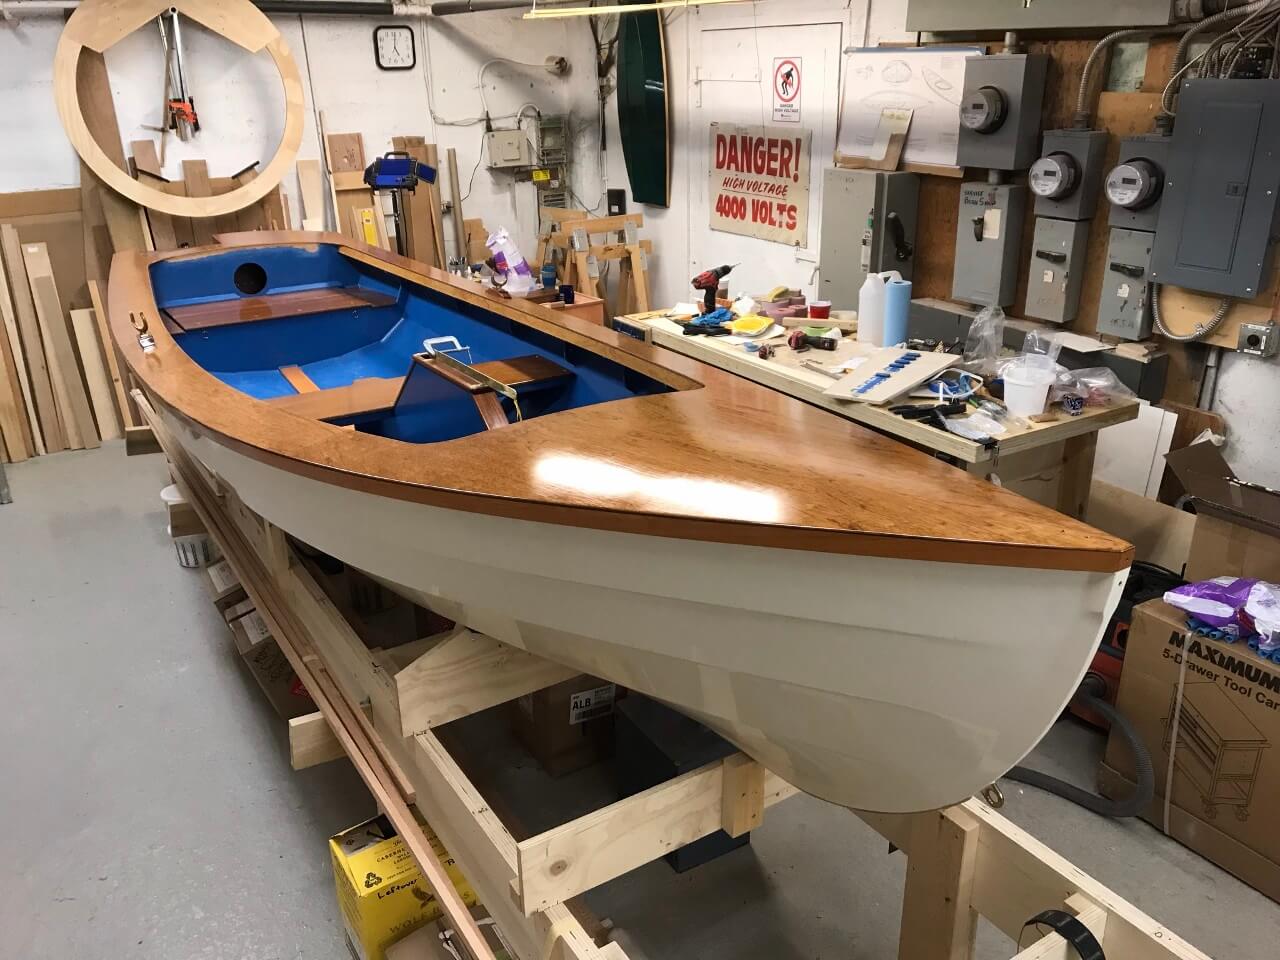
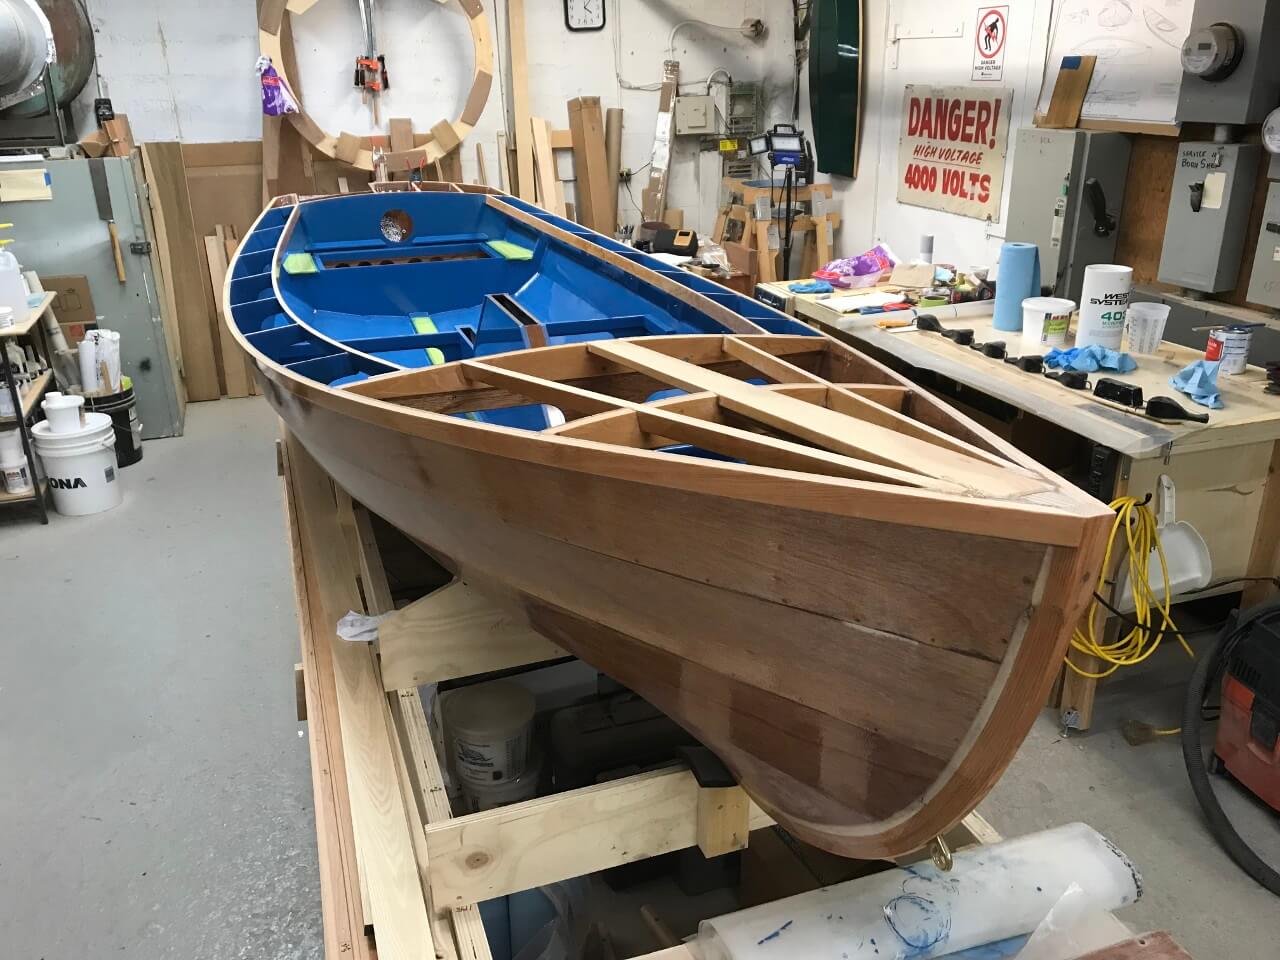
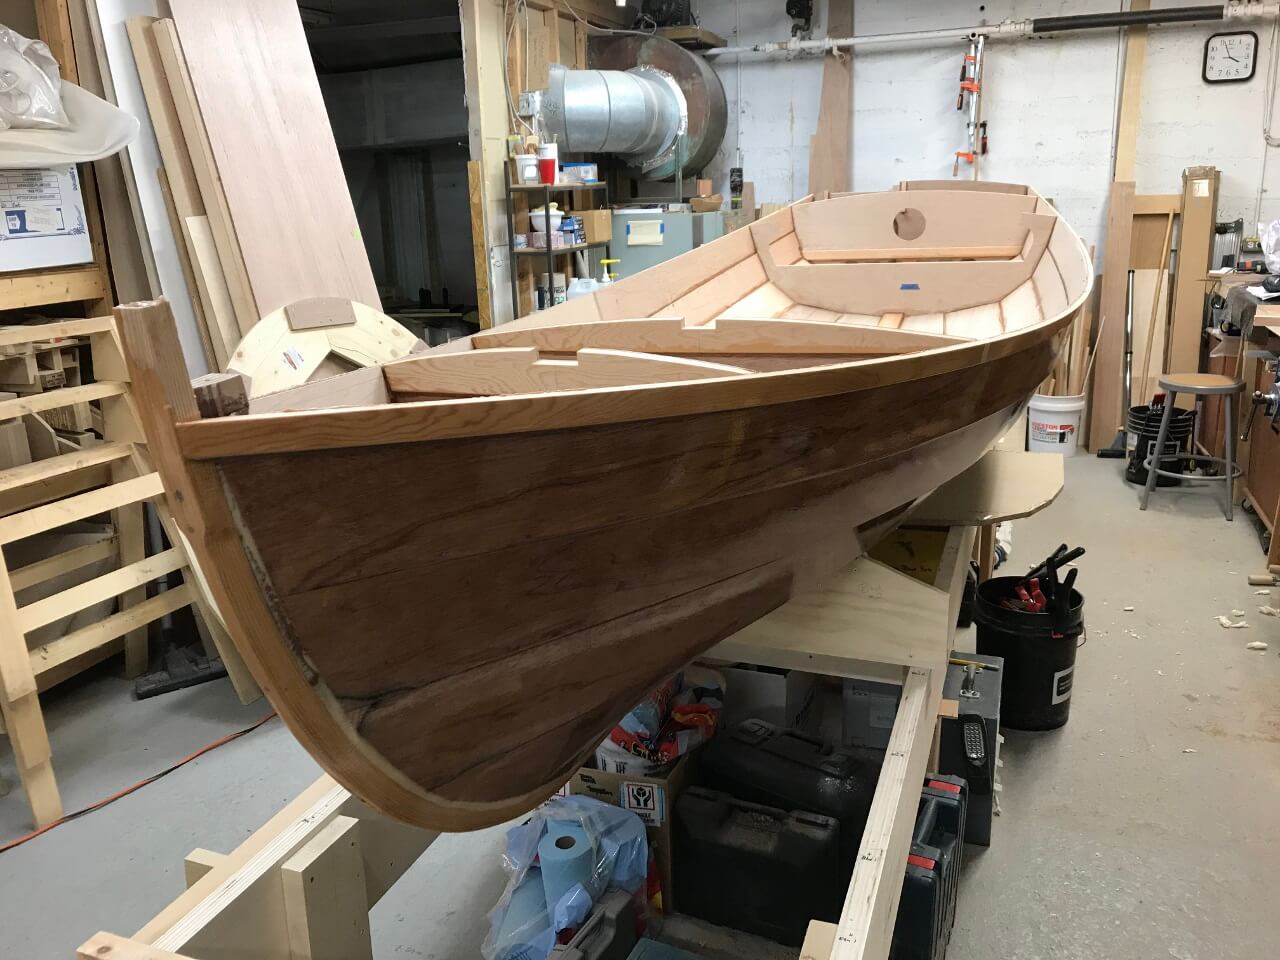
The hull pretty much complete
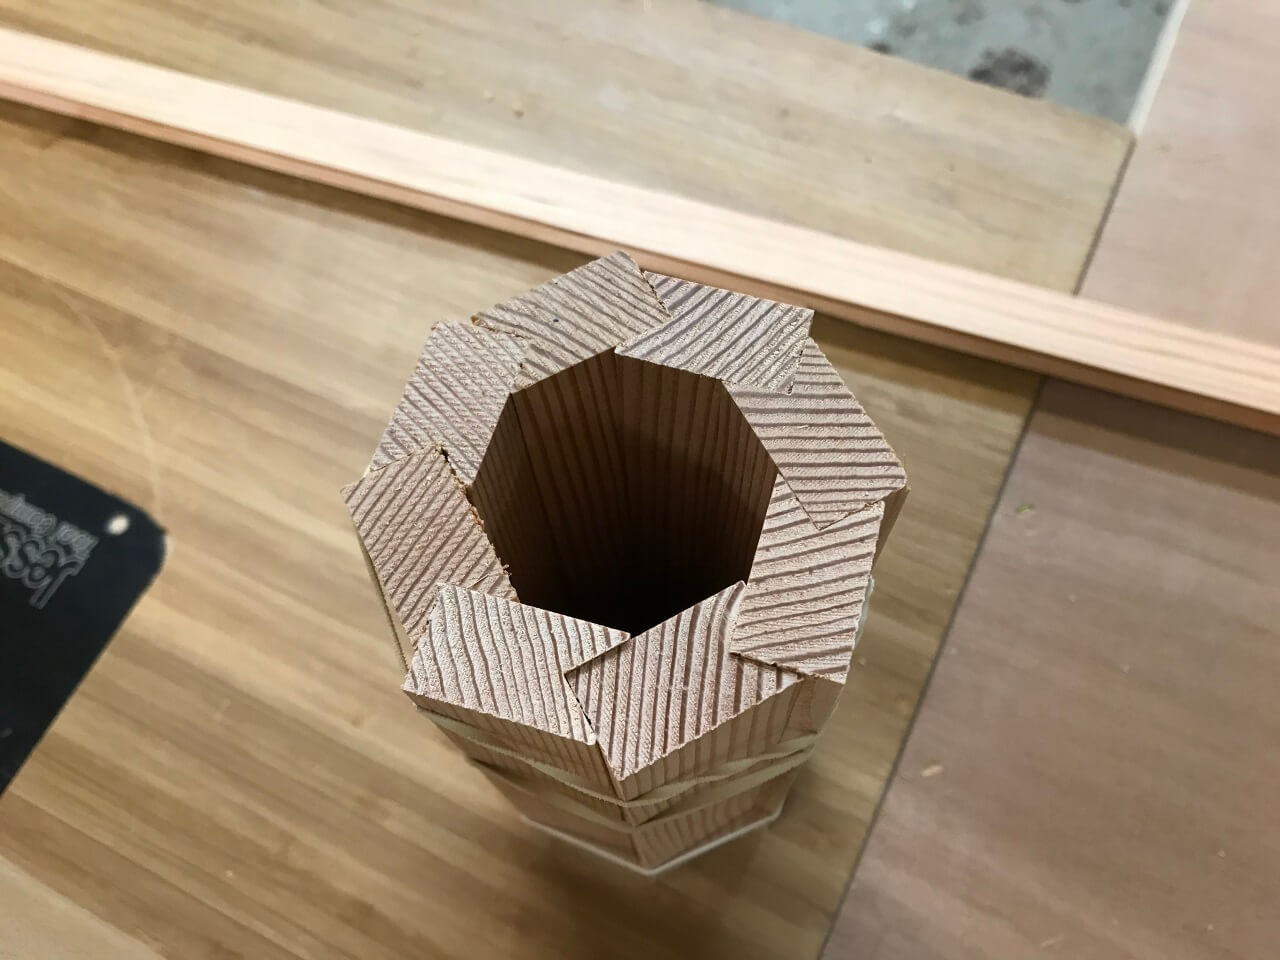
The mast and yard are made to be hollow. This keeps them light without sacrificing much strength. This little sample shows the “birdsmouth” construction
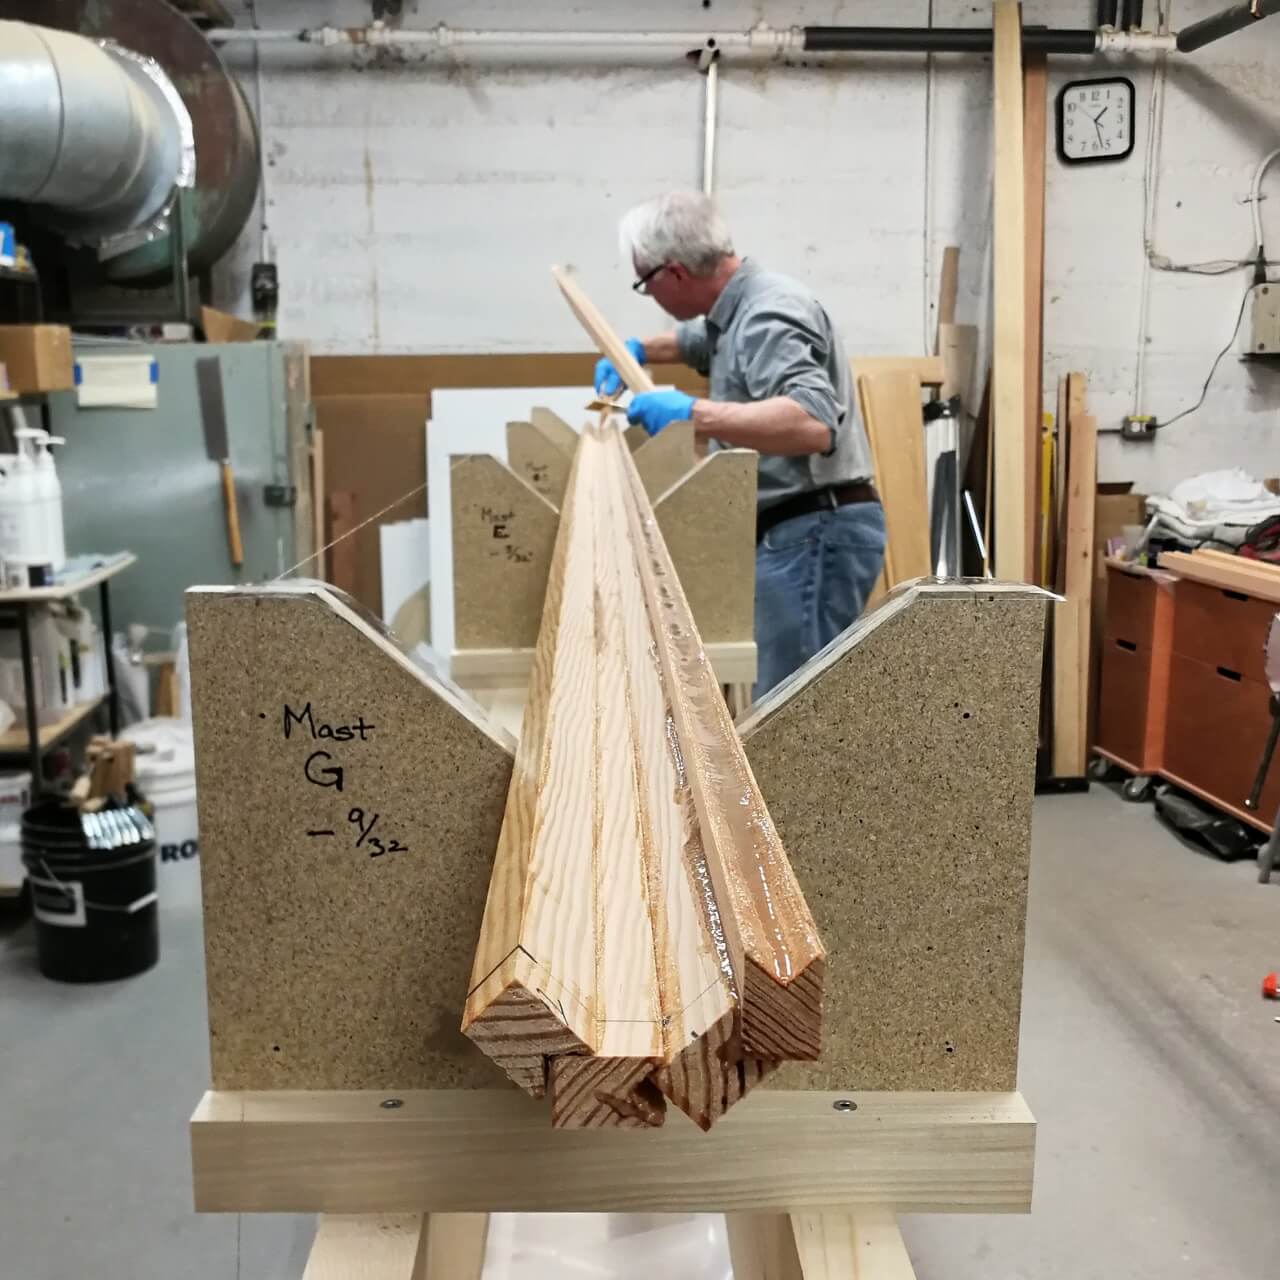
Shaping the long, floppy staves and setting up the support cradle accurately were the challenges to this construction. During the glue up the pieces seemed to want to snap together like magnets.
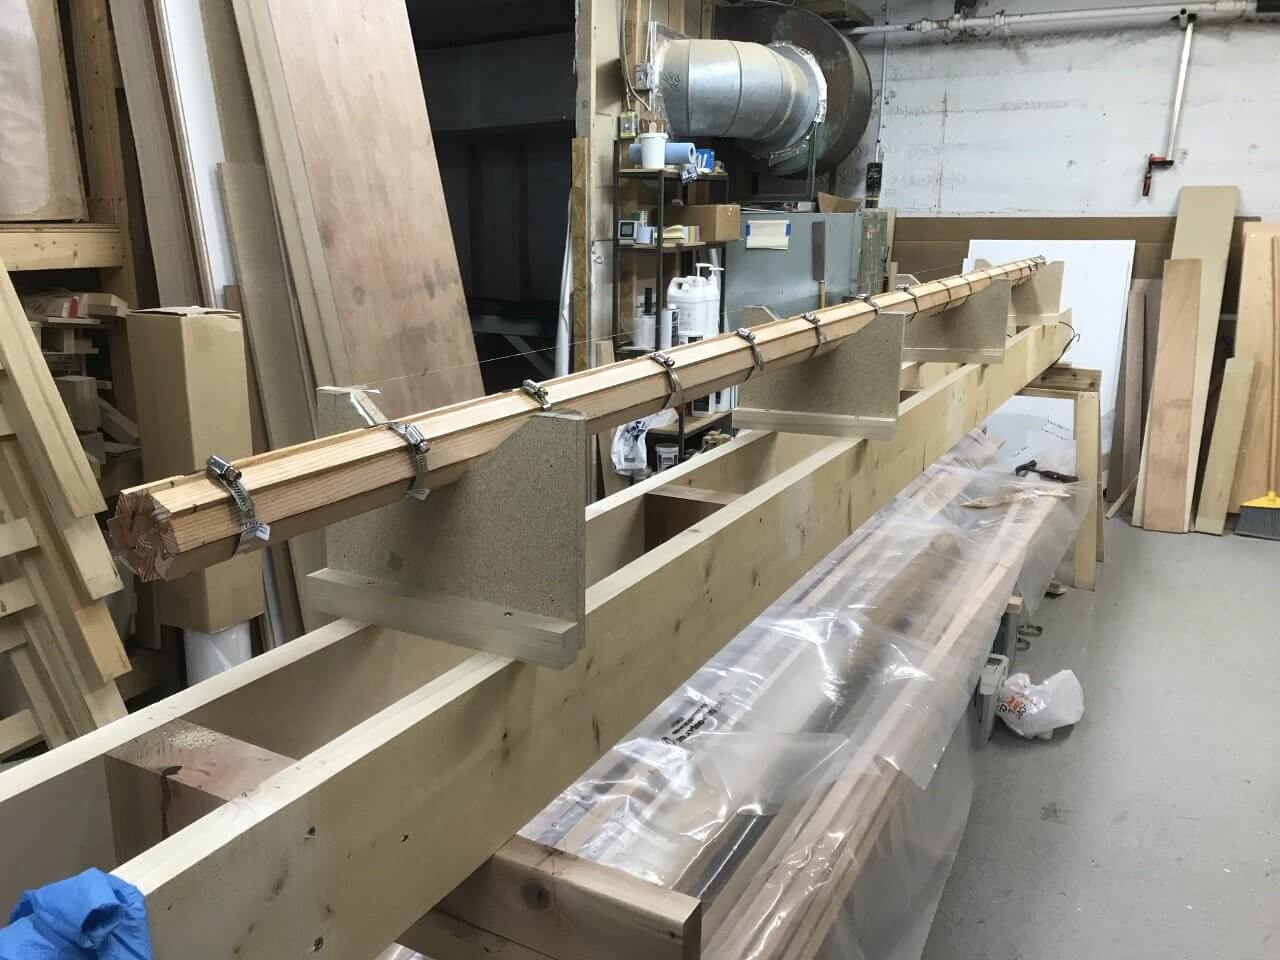
The clamped blank with plugs at each end.
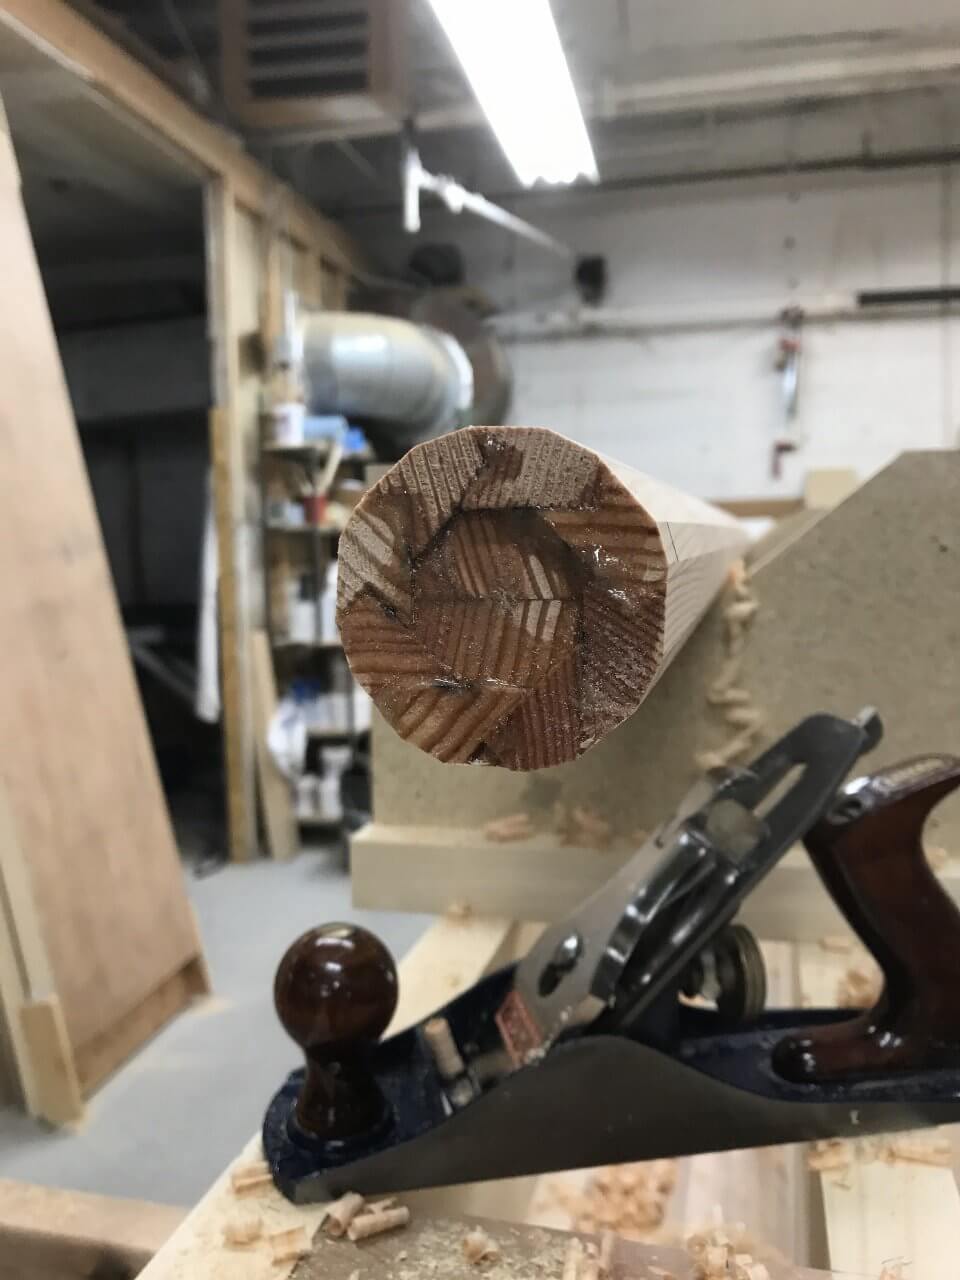
Shaping by hand was a gradual step by step process starting with the 8 sided blank, planing to 16 facets, then 32 and finally sanding round.
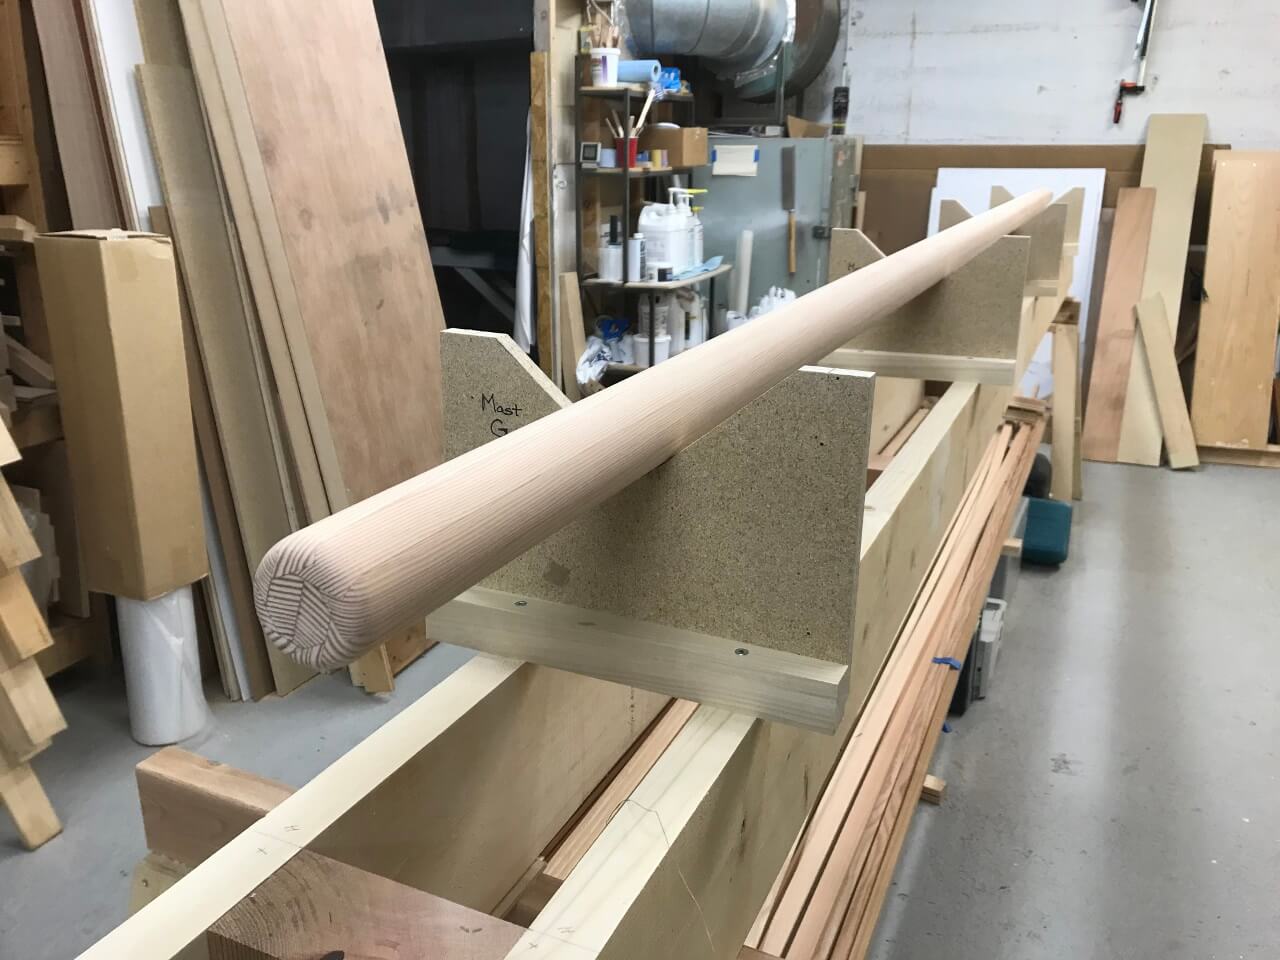
The completed mast ready for a finish of epoxy and varnish.
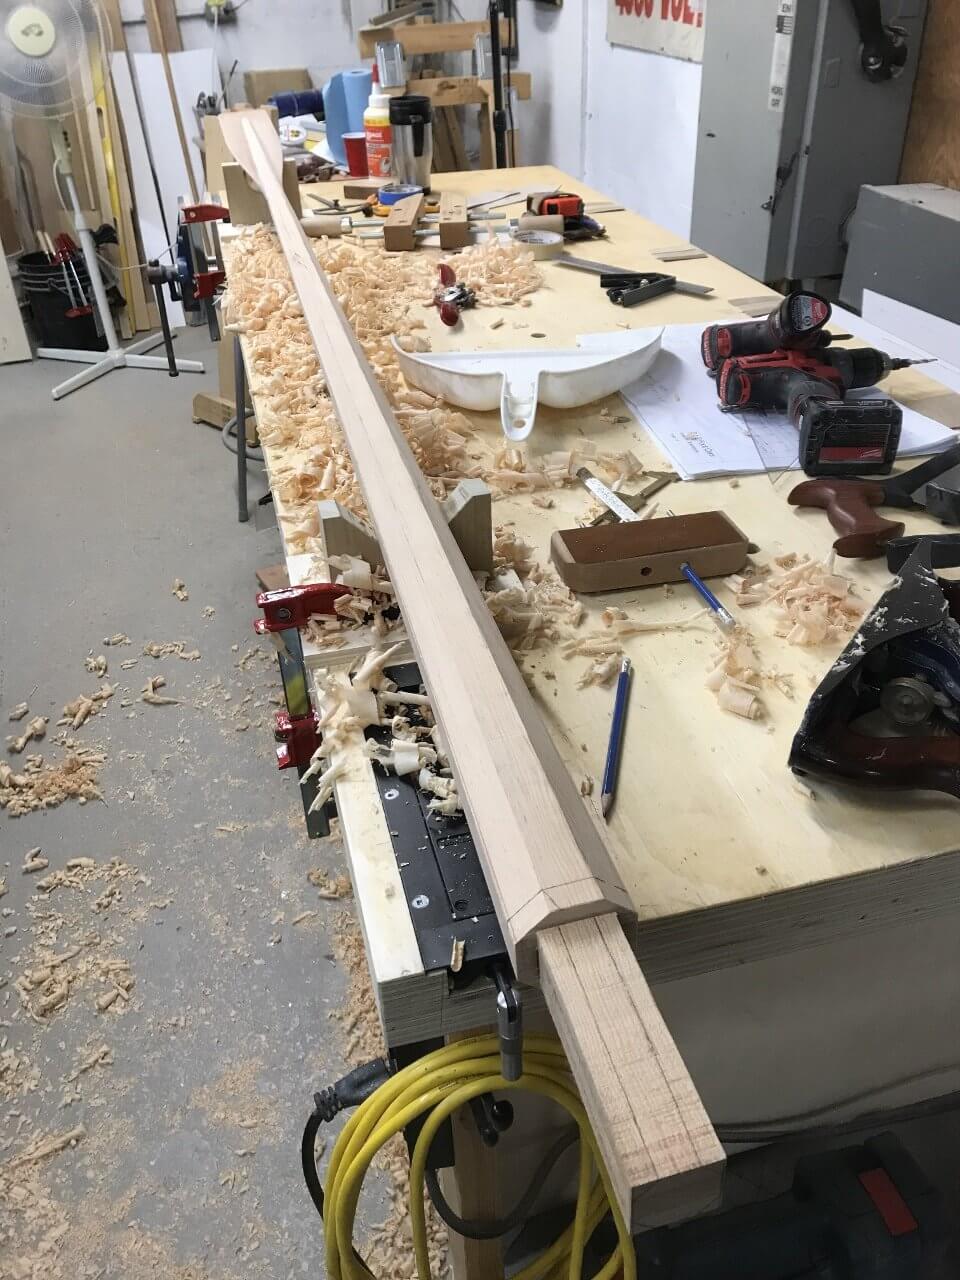
Some oars, on their way.